Importing an Initial Backup From a Seeding Disk
You import a seeding disk by mounting the disk on a local NFS server. You can either mount the drive directly, or use the seeding station and then import the seeded data using the administration view.
To import the seeding disk content to the portal:
Note: This procedure can also be performed in a reseller portal by the staff administrator and by the global administrator in the team or reseller portal view.
1 Connect the seeded drive to the seeding station.
2 Connect the seeding station to the portal.
3 Select the virtual portal in the drop-down list which is the target for the seeded data.
4 Select Settings in the navigation pane.
5 Select Seeding under TOOLS in the Control Panel page.
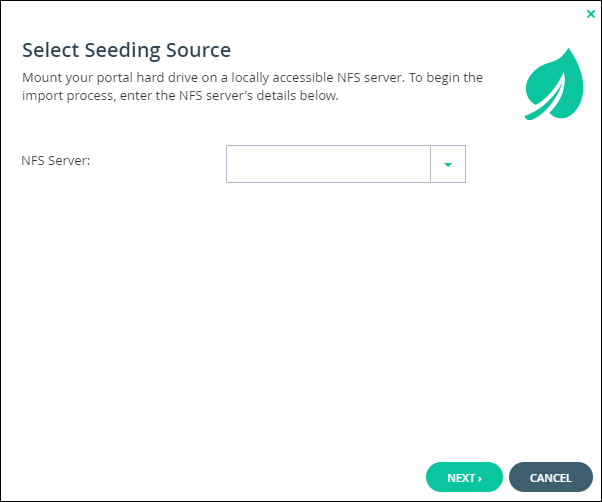
The Select Seeding Source window is displayed.

6 Click NEXT.
A confirmation window is displayed.
7 Click NEXT.
Files are imported from the seeding hard drive.
When the operation is complete, the Completed screen is displayed.
8 Click CLOSE.
Once the import has completed, you can back up content incrementally.
To import the seeded drive to the portal from a directly mounted drive:
1 In the CTERA Portal server command line, enter the following command: telnet localhost
2 Enter the following command: login admin admin username
Where username is your CTERA Portal global administrator user name.
You are prompted for your password.
3 Enter your password.
4 Enter the following command: import-nfs-folder /portals/virtualPortalName seedingStation [sharePath] [targetBackupFolder]
Where:
virtualPortalName is the name of the virtual portal on which the desired backup folder is located.
seedingStation is the IP address or DNS name of the seeding station.
sharePath is the path to the "seeding" share. The default value is /shares/seeding.
targetBackupFolder is the name of the folder to which the seeding data should be imported, with the following format: /portals/virtualPortalName/backups/backupFolderName
Where:
virtualPortalName is the name of the virtual portal on which the desired backup folder is located.
backupFolderName is the name of the desired backup folder. The default value is the backup folder of the appliance on which seeding export was performed.
If the backup folder is passphrase protected, you are prompted for the passphrase.
Seeding import starts. Once import is complete, you can back up content incrementally.