Managing the Cloud Storage Gateway
Accessing the Web Interface
Cloud storage gateways are managed via a web interface.
From Windows OS
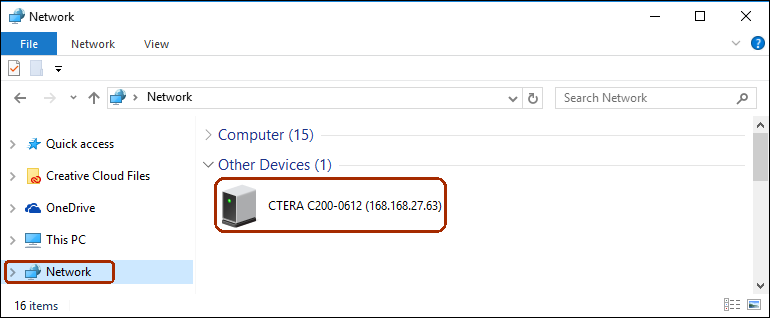
1 On a computer connected to the same switch as the Cloud Storage Gateway, view the network connections. For example, by clicking Network in the left pane in File Explorer.
The cloud gateway is automatically detected using UPnP and is displayed in the list of network places.
2 Double-click on the icon with a name starting with the gateway model number. For example, CTERA ....
From Mac OS
1 On a computer connected to the same switch as the cloud storage gateway, run Safari.
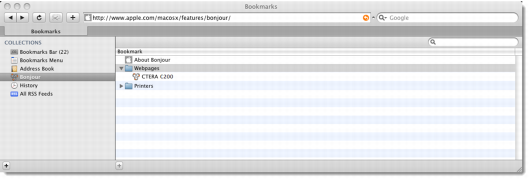
2 Open Bookmarks.
3 In the Collections pane, select Bonjour.
4 In the right pane, expand Webpages.
5 Double-click the name of your device. For example:

.
Note: After connecting, you can add a bookmark in your web browser, for easy access to the web interface.
From Any Browser
1 Open any web browser.
2 Enter the cloud storage gateway's IP address to navigate to the device.
First-Time Log in
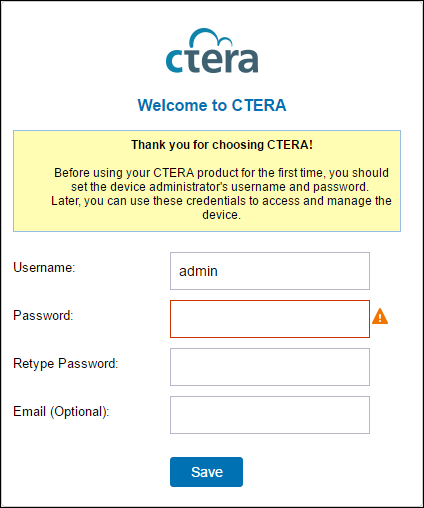
When you connect to the web interface for the first time, your browser displays the Welcome to CTERA page:
1 Choose a user name and password for the administrator.
2 Optionally, enter an email for receiving notifications regarding the cloud storage gateway.
3 Click Save.
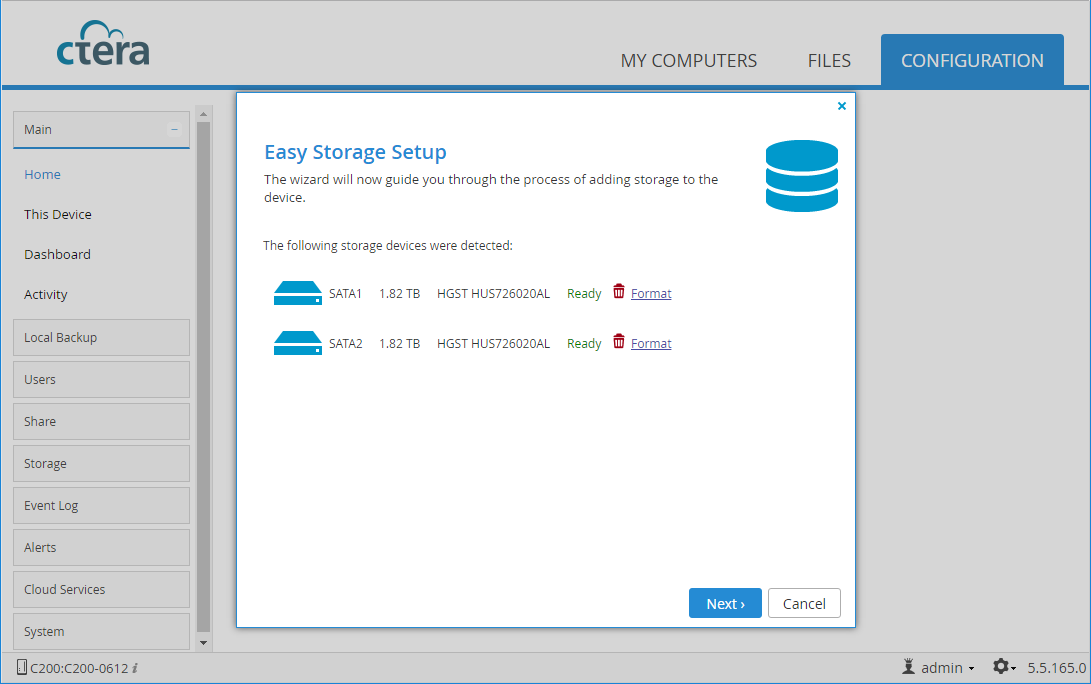
The administration user interface is displayed and the Setup Wizard is automatically started, displaying the Easy Storage Setup window.
4 Click Next.
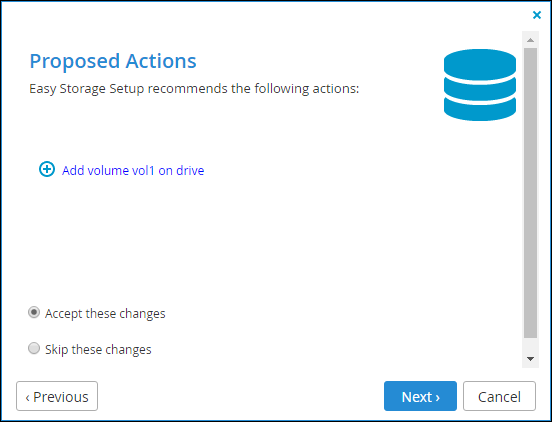
If the Setup Wizard determines that certain storage configuration changes would be beneficial, the Proposed Actions window is displayed describing the recommended changes.
Either accept the proposed configuration or keep the original configuration by selecting Skip these changes and click Next and the Account Details window is displayed.
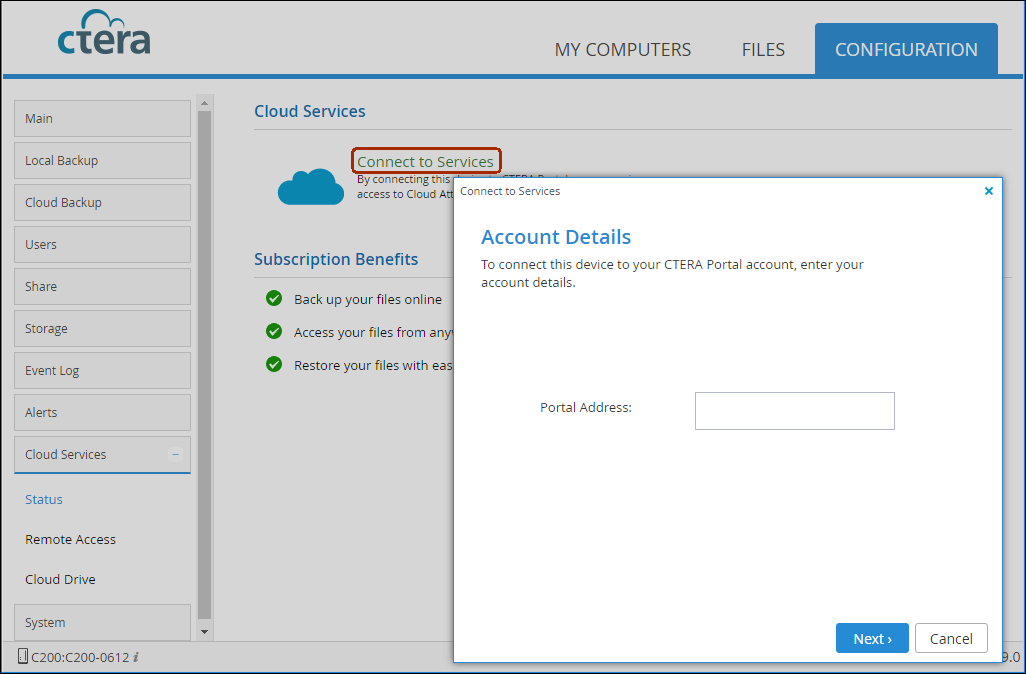
If the Setup Wizard determines that no storage configuration changes are recommended, the Account Details window is displayed.
5 Either:
Enter the DNS name of the CTERA Portal to which you have an account and want to connect the Cloud Storage Gateway to, in the Portal Address field.
Or:
Check the I’ll connect to the portal later checkbox.
Note: If you choose to connect to a portal at a later date, you do this by rerunning the Setup Wizard, accessed from the Configuration tab.
6 Click Next.
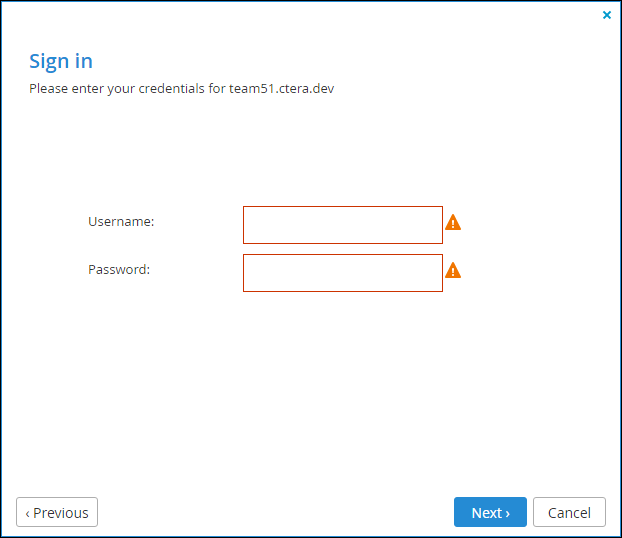
If you entered a portal address, the Sign in window is displayed, otherwise you click Finish to complete the initial setup.
7 Specify a valid username and password to access your CTERA Portal account.
8 Click Next.
9 Click Finish.
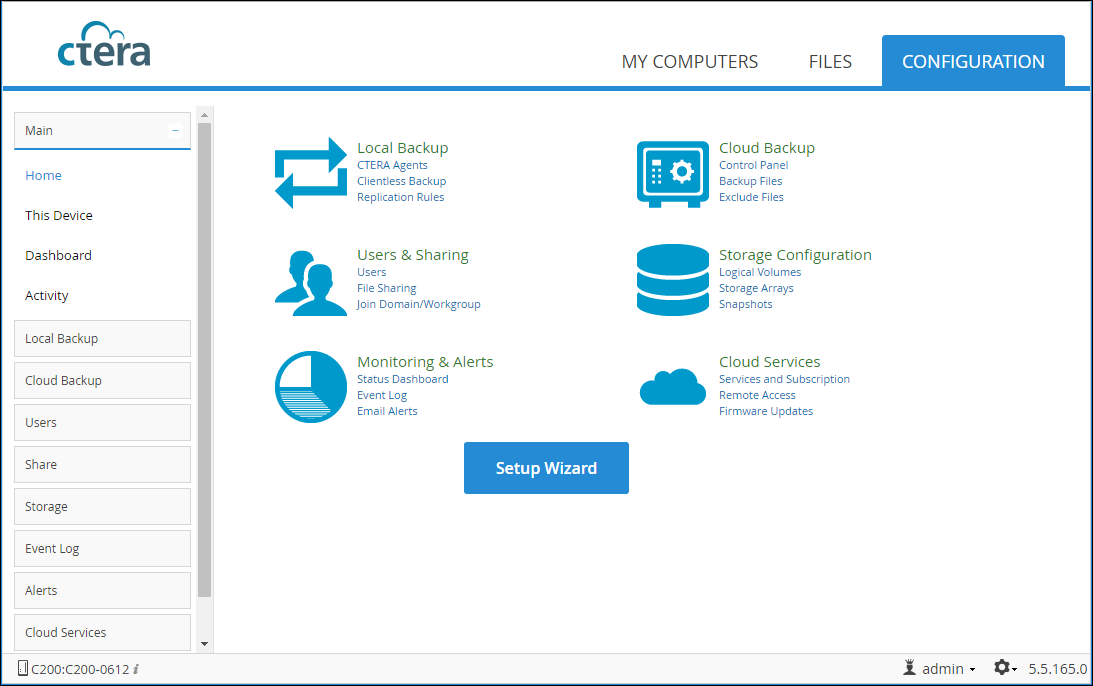
The Configuration tab's Main > Home page is displayed.
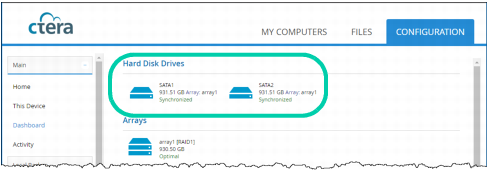
10 Select Main > Dashboard and verify that all the hard disk drives installed in the Cloud Storage Gateway are available.
Logging in
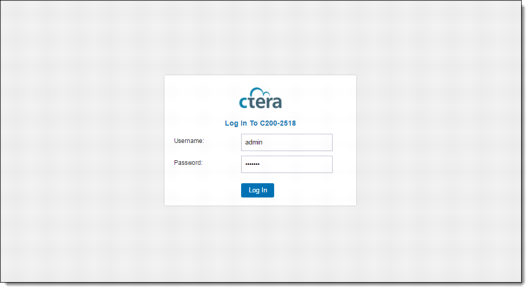
After you have configured your user name and password, each time you connect to the interface your browser displays the Log In page:
1 Enter your user name and password for accessing the cloud storage gateway.
2 Click Log In.
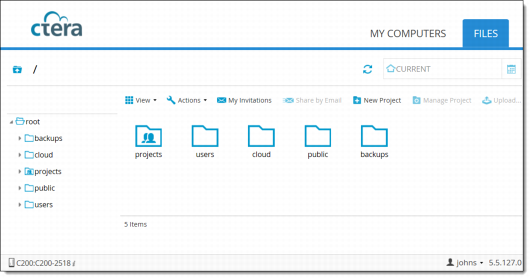
If you are a member of the Administrators or Read Only Administrators user groups, the Configuration tab's Main > Home page opens, displaying shortcuts to various pages of the cloud storage gateway user interface.
Otherwise, the Files tab opens, displaying the File Manager.