Installing a SATA Hard Drive in the CTERA C400
To install a SATA hard drive:
1 If the desired disk tray's Tray Open Button indicates that the disk tray is locked (that is, the groove is horizontal), then unlock the disk tray by using a flat-head screwdriver to turn the groove until it is vertical.
2 Press the disk tray's Tray Open Button.
The disk tray lever pops out.
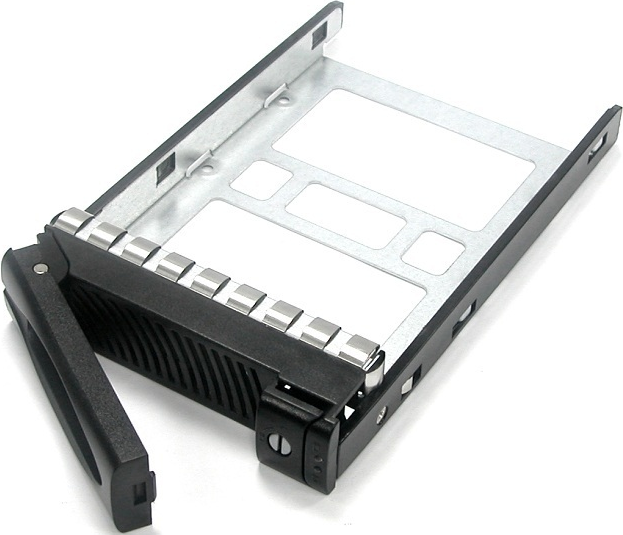
3 Pull the lever outwards to remove the disk tray from the C400.
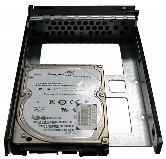
Place the hard drive in the empty disk tray.
A 3.5" drive fills the empty disk tray.
A 2.5" drive is placed like this:
4 Flip over the disk tray, and use the supplied mounting screws to secure the hard drive in the disk tray.
If the drive is a 3.5" drive, insert the screws in the holes indicated in the following figure. They are labeled A.
If the drive is a 2.5" drive, insert the screws in the holes marked W in the following figure.
5 Slide the disk tray back into the C400.
6 Press the disk tray lever back into place, until you hear a click.
7 Optionally, if you would like to prevent the disk from being removed, lock the disk tray, by using a flat-head screwdriver to turn the button until the groove is horizontal.