Installing the Virtual Gateway in a Hyper-V Environment
Contact CTERA Networks, and request the latest VHD gateway hard disk.
To install the Virtual Gateway in a Hyper-V environment:
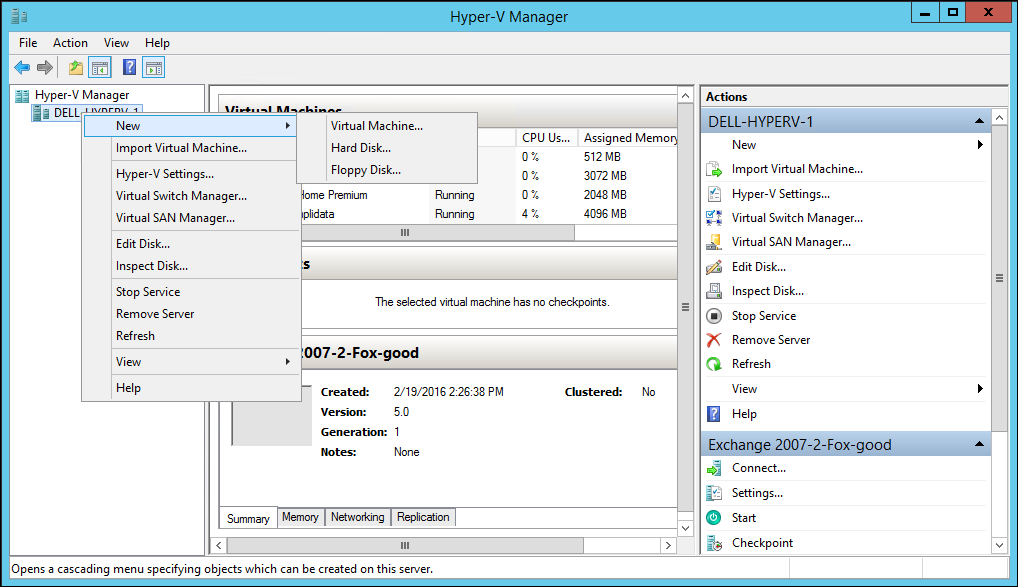
1 Open the Hyper-V Manager.
2 Right-click the hypervisor and click New > Virtual Machine....
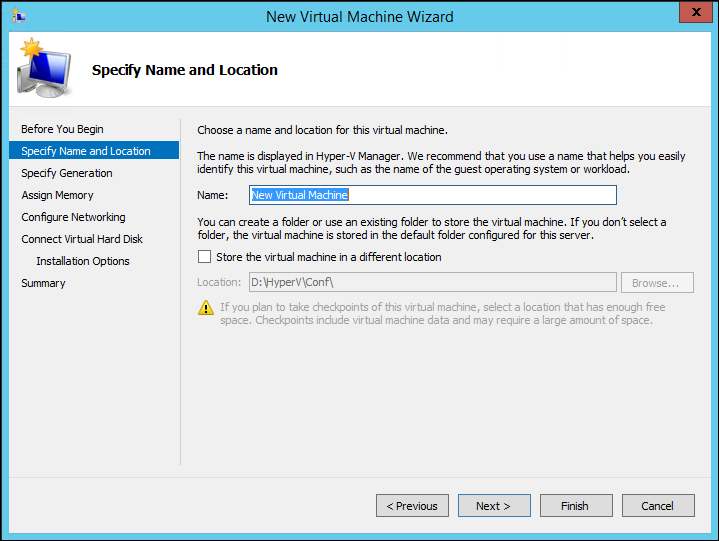
The New Virtual Machine wizard opens, displaying the Specify Name and Location dialog box.
3 Provide a name for the virtual machine and if wanted, change the default location for the virtual machine.
4 Click Next.
5 Leave the default Generation 1 type virtual machine and click Next.
6 Leave the default Startup memory and click Next.
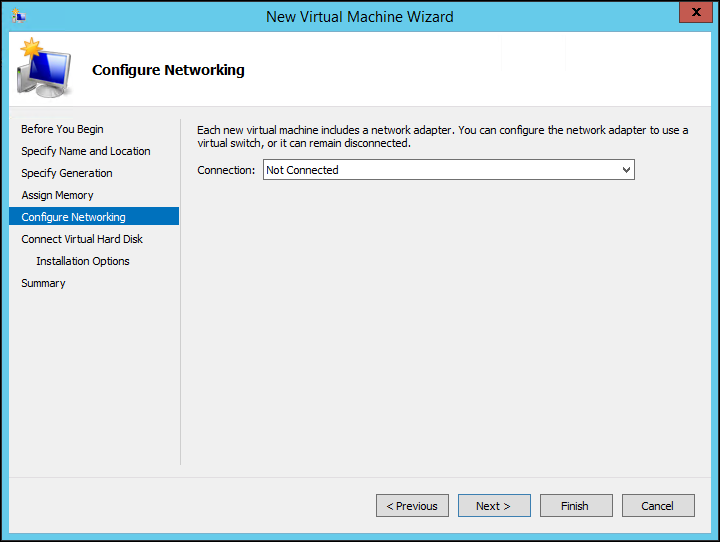
The Configure Networking dialog box is displayed.
7 Select the network connection and click Next.
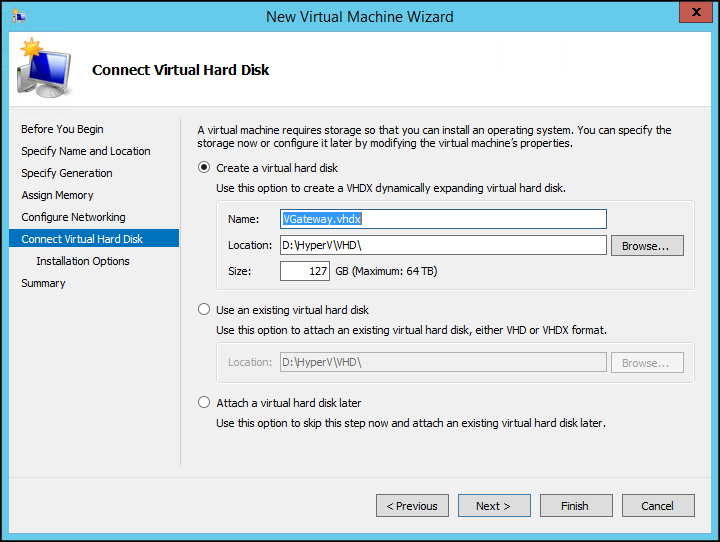
The Connect Virtual Hard Disk dialog box is displayed.
8 Select the Use an existing virtual hard disk option and browse to the location of the virtual gateway VHD file supplied by CTERA.
9 Click Next.
The Summary dialog box is displayed.
10 Click Finish to complete the Virtual Gateway installation.
11 Start the virtual machine to see the IP address assigned to it.