Installing the CTERA C200
Installing a CTERA C200 appliance involves inserting one or two SATA hard drive and then connecting the appliance to a power outlet and to the LAN. After installing the device, you need to perform an initial setup.
In this section
Setting Up the C200
In order to install the CTERA gateway, you need at least one hard drive (SATA, 3.5"). You cannot include a hard drive in an array if it does not support SCT Error Recovery Control in the array.
To set up the CTERA C200:
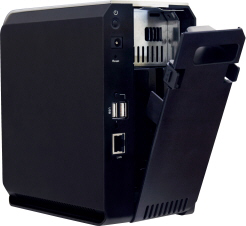
1 Open the C200's back cover, by pressing the two plastic tabs and then pulling backwards.
Two slots are revealed.
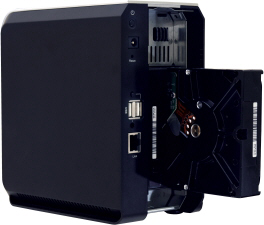
2 Insert the SATA hard drive into a vacant slot, pressing it firmly until it is all the way in.
If you install the drive in left-hand slot, the drive's metal cover should be facing left.
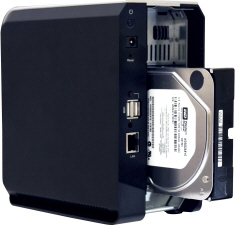
If you install the drive in the right-hand slot, the drive's metal cover should be facing right.
3 Close the C200's back cover, by inserting first the bottom of the cover, pressing the tabs, and then pushing forwards.
The cover should click into place.
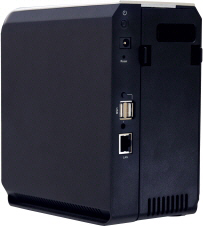
4 Connect one end of the Ethernet cable to the LAN port, and connect the other end to your Ethernet LAN switch or router.
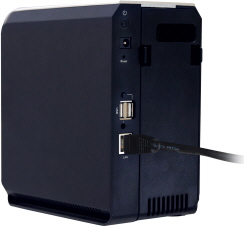
5 Connect the provided power supply cable to the power jack, and connect the power supply to the wall outlet.

6 Press the Power button at the back of the C200.
The C200 will start up, and the Ready/Status LED will flash rapidly in orange and then green. When the LED turns steady green, the C200 is ready.
The C200 automatically obtains an IP address using DHCP.
Note: If a DHCP server is not available, then after one minute, the C200 will use the IP address 192.168.192.5.
Warning: If you need to unplug the C200, you must first shut it down as described in the CTERA Edge Filer Administration Guide.