Creating a Portal Instance
The portal image used to create the is obtainable from CTERA support at http://support.ctera.com and needs to be moved to your Azure portal, using Azcopy.exe, available for download from https://docs.microsoft.com/en-us/azure/storage/common/storage-use-azcopy-v10. The zip file contains the azcopy.exe program.
To get the image from CTERA support at http://support.ctera.com:
1 Log in to your Azure portal and access the Storage Accounts service to display the images.
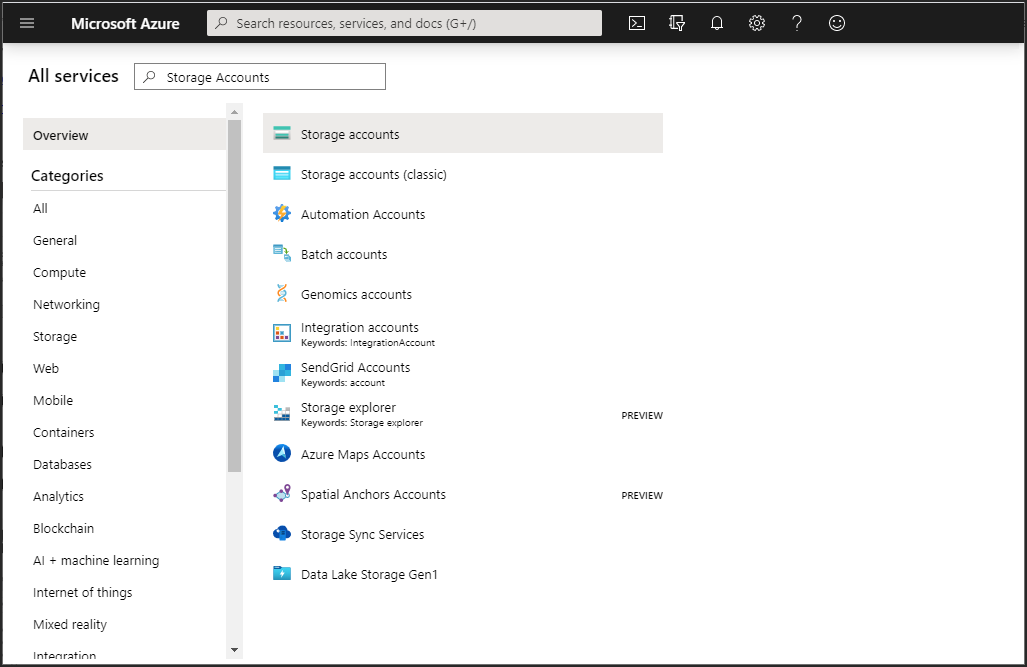
The list of available storage accounts is displayed.
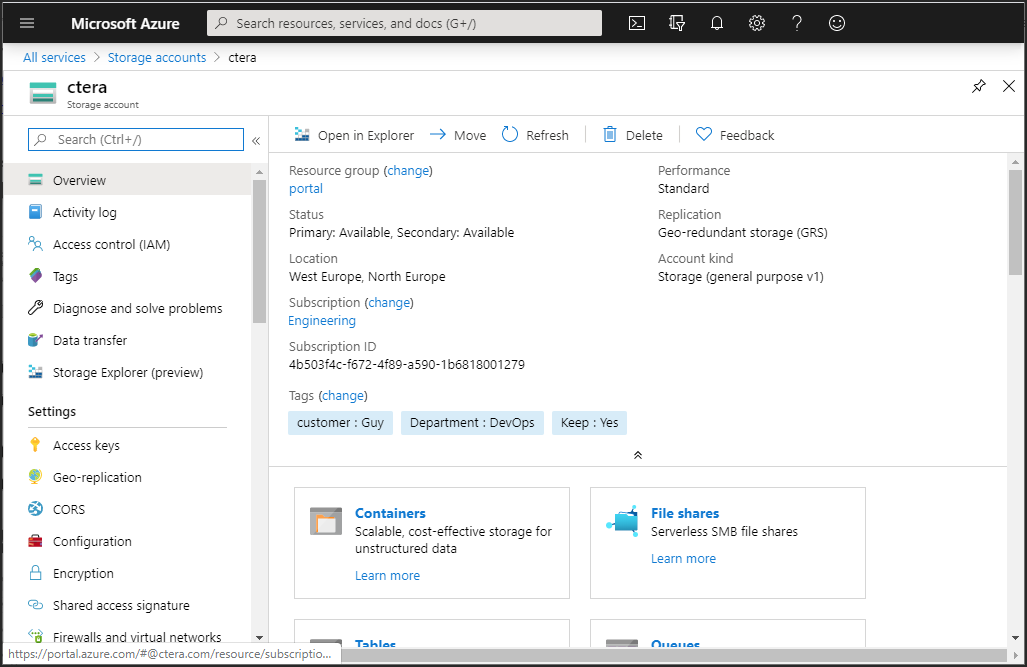
2 Either create a new storage account for the image or click the storage account to use for the image.
3 The storage account details are displayed.
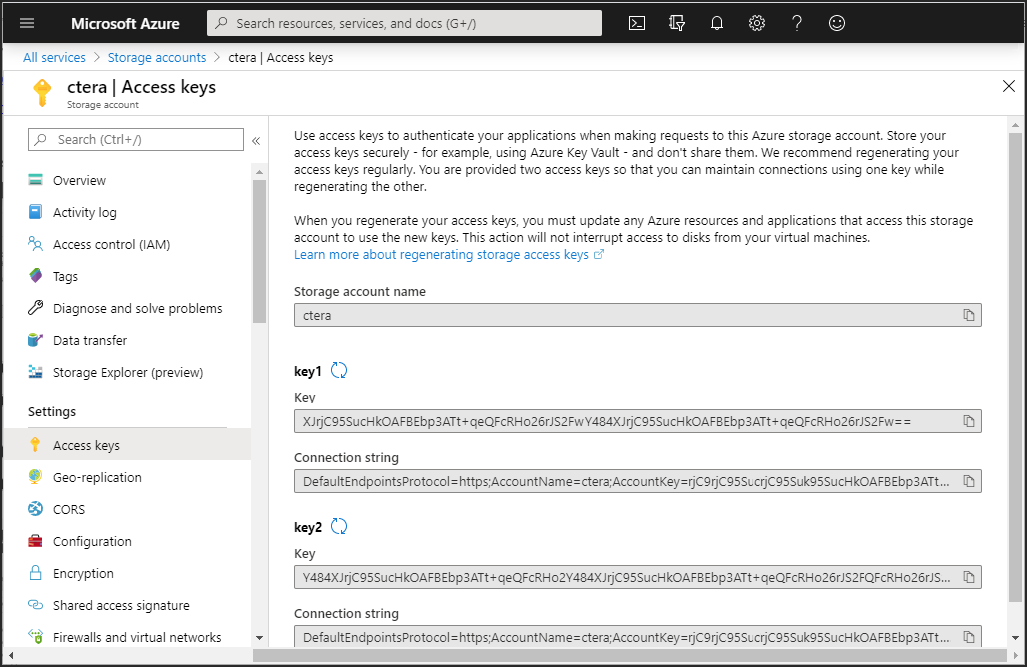
4 Click Access Keys and note the Storage account name and the Key 1 key value.
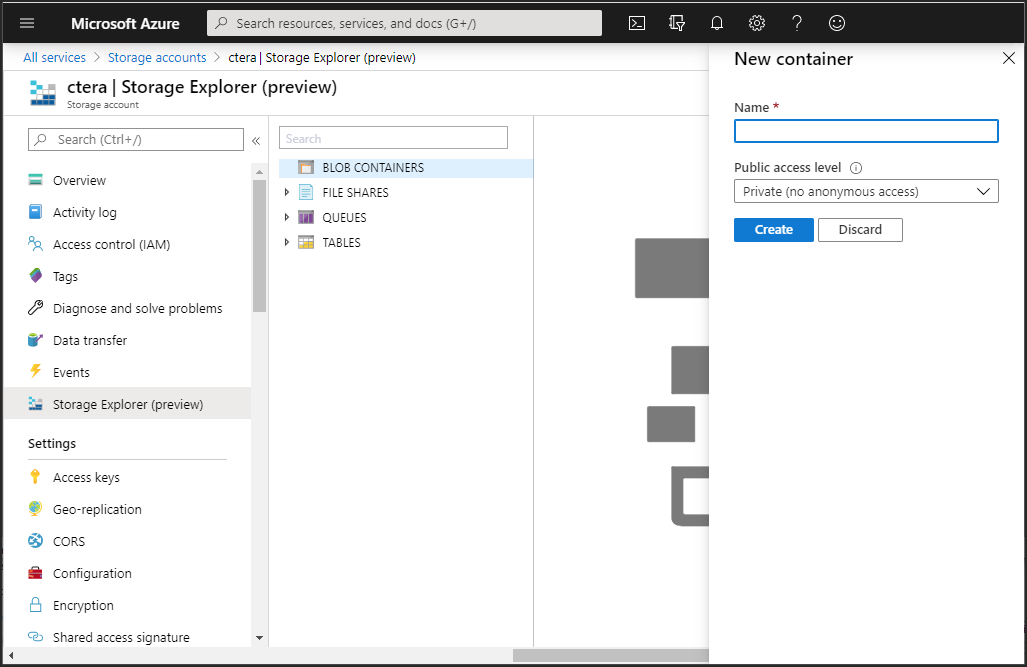
5 Click Storage Explorer (preview) and right-click BLOB CONTAINERS and select Create blob container.
The New container blade is displayed.
6 Refresh Azure, expand BLOB CONTAINERS and right-click the portal image blob container and click Get Shared Access Signature.
The Shared Access Signature blade is displayed.
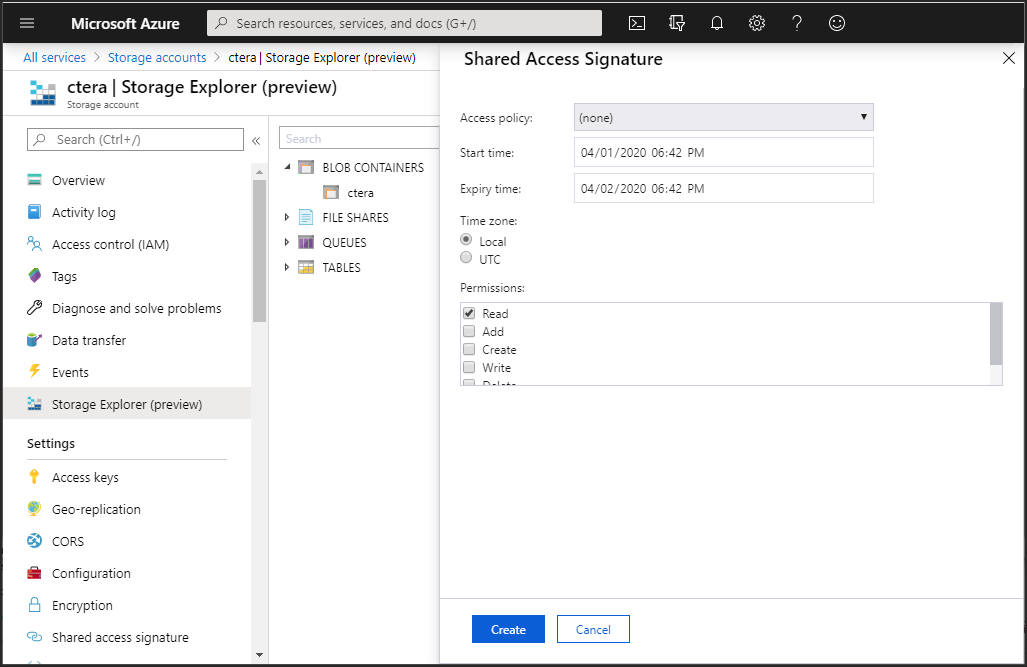
7 Set the permissions and click Create.
8 Copy the URI that is generated and save it.
The URI includes a shared access key.
To get the image:
AzCopy.exe cp "<source_uri>" "<destination_uri>"
source_uri – The source URI from CTERA Support.
destination_url – The destination URL from 8.
The image is copied to the container. This can take some time.
To create the CTERA Portal server instance:
1 Log in to your Azure portal and access the Images service to display the image obtained from CTERA support.
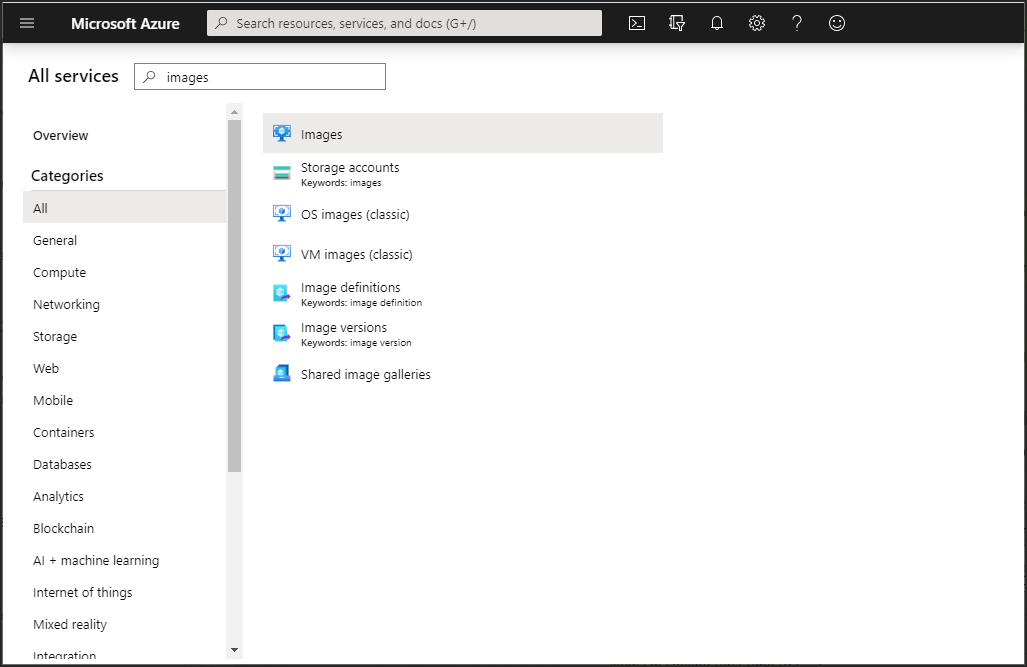
The list of available images is displayed.
2 Click the image for the CTERA Portal.
The image details are displayed.
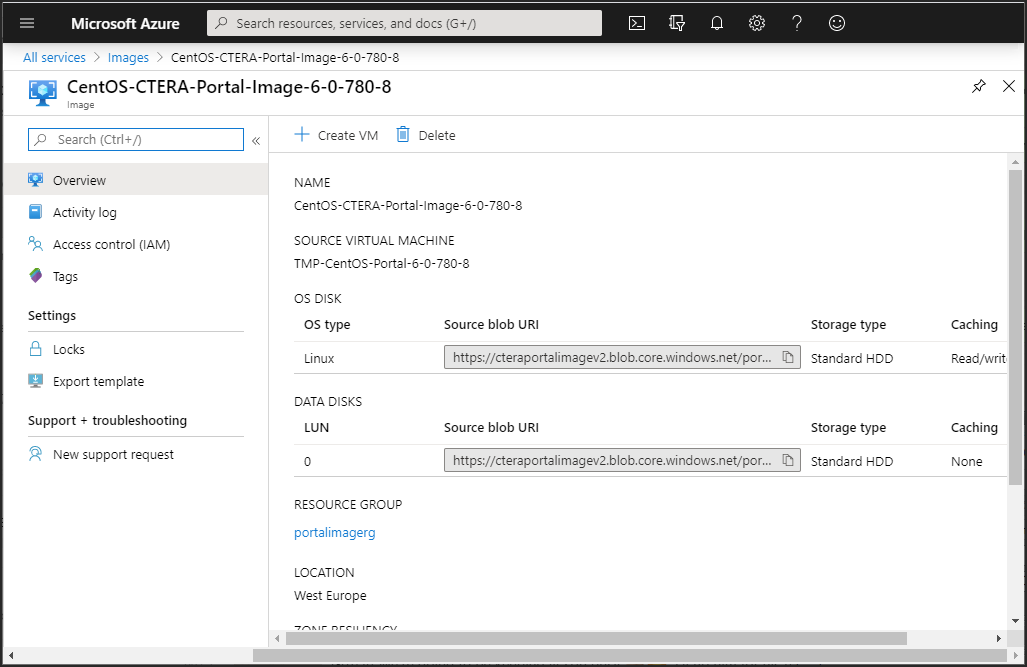
3 Click Create VM.
The Create a virtual machine blade is displayed.
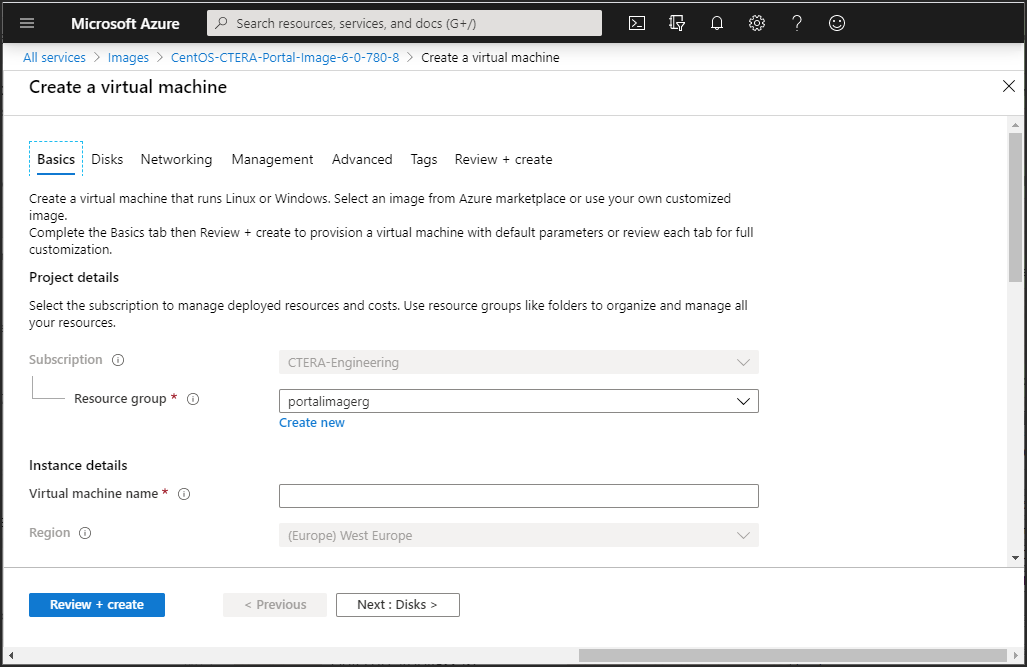
4 Enter the following in the Basics tab for the virtual machine.
Resource group – The resource group to be used. The resource group must use premium storage.
Virtual machine name – A name to uniquely identify the virtual machine.
Region – The region to host the virtual machine.
Size – Click Select size to specify the size of the storage used for the portal.
The Select a VM size blade is displayed.
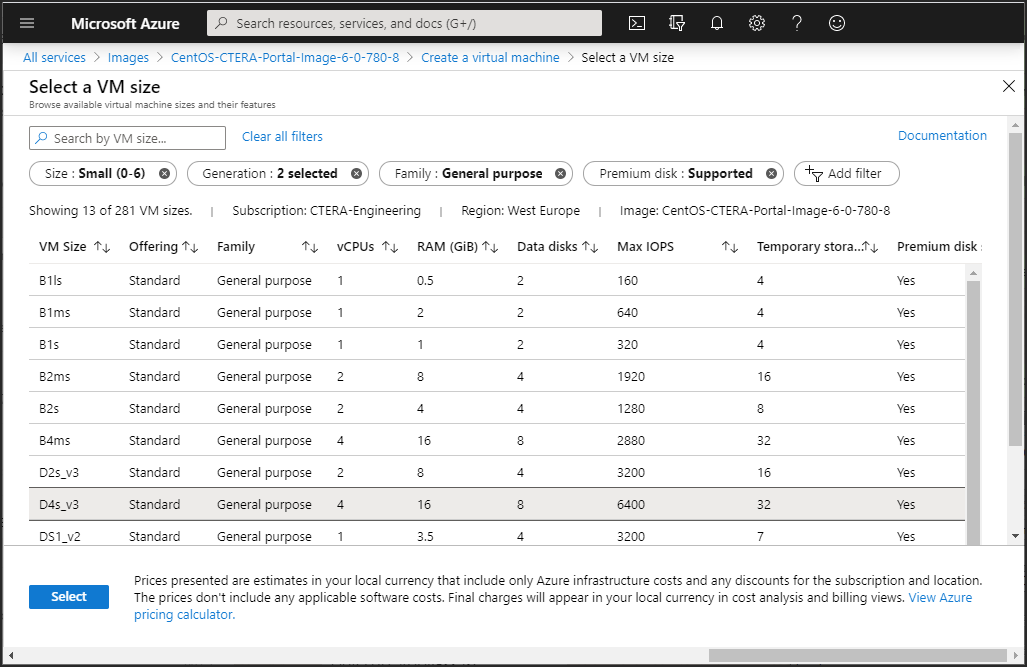
i Select a VM that matches your requirements.
In a production environment, with a multi-node deployment, the application and database servers each require a 64-bit virtual machine with minimum 16GB RAM, 4 CPU cores and 110GB local hard disk drive. In a small or test environment, with a single server deployment, the requirement is a 64-bit virtual machine with minimum 8GB RAM, 2 CPU cores and 110GB local hard disk drive.
Preview servers require at least 16GB of RAM, 4 CPU cores, and 60GB of magnetic drive.
ii Click Select.
Authentication type – Choose either SSH public key or Password. The tab changes dependent on this choice to enable entering the SSH public key or a password and confirmation password.
Note: Once the virtual machine has been fully configured, CTERA provides a user name and password.
Username – A name to access the virtual machine. This is an administrator name that can access the portal.
Note: Once the virtual machine has been fully configured, CTERA provides a user name and password, but this user name can also be used.
Leave the other values with their defaults.
5 Click the Disks tab, or click Next: Disks.
6 Set the OS disk type and click the Networking tab, or click Next: Networking.
7 Set the network and subnet details to access the portal.
8 Click the Review + Create tab, or click Review + Create.
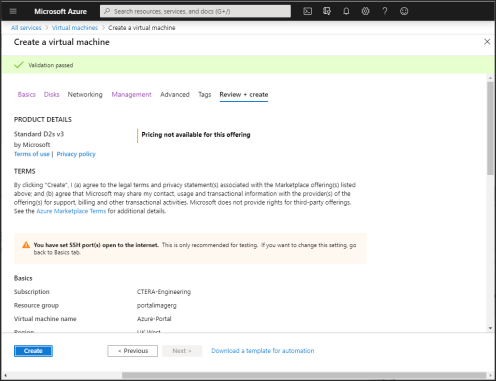
9 Review the virtual machine details and click Create.
The machine is deployed, which can take a few minutes.
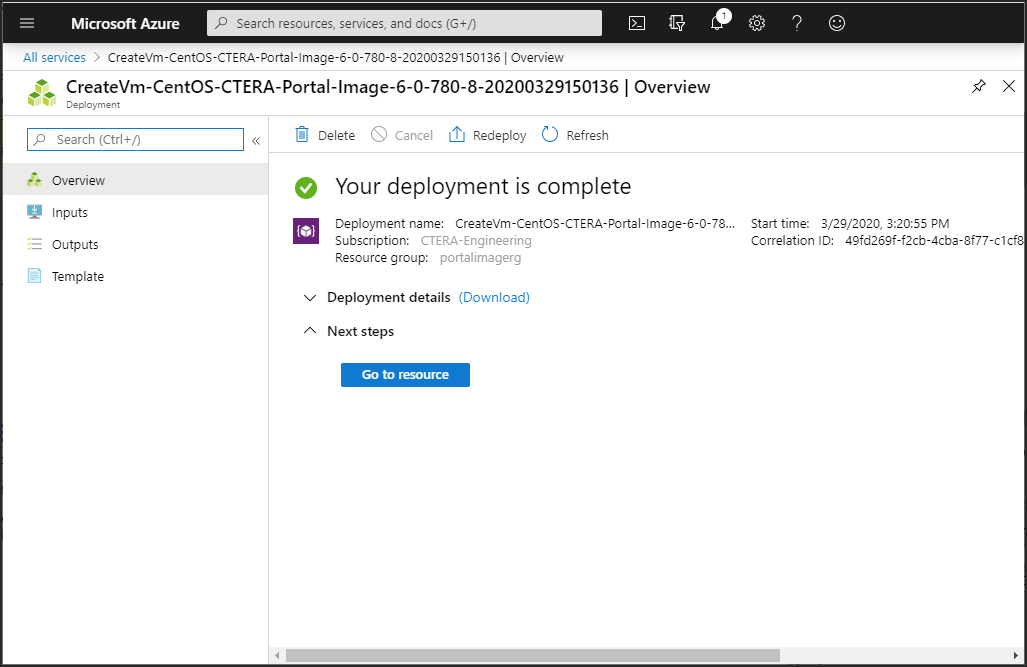
The machine is started automatically.
10 Either, Click Go to resource to display its details.
Or,
In the Azure portal All services pane click Virtual machines, under the Compute service.
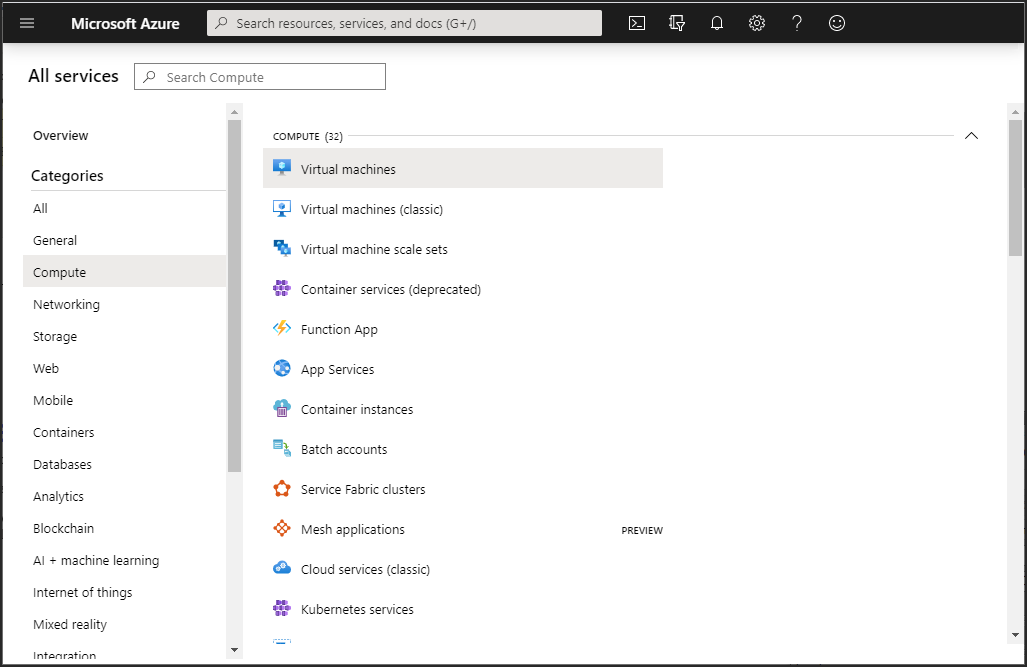
After clicking Virtual machines, the list of virtual machines is displayed.
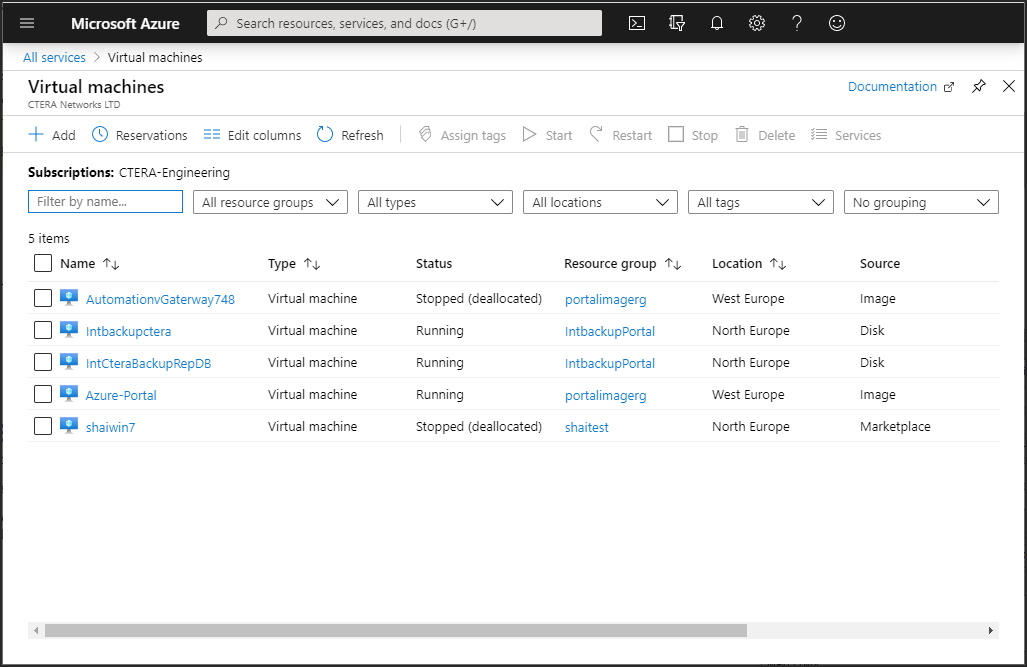
Click the virtual machine to display its details.
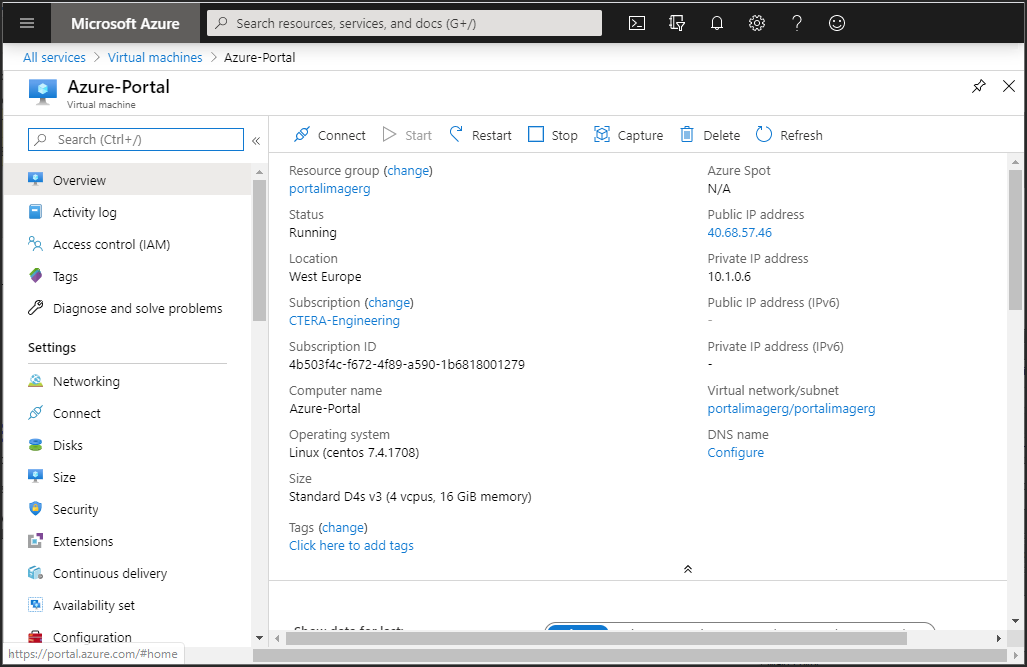
The virtual machine includes two default disks. The OS disk is used for root, and a data disk, which is used to store the CTERA Portal database.
To add disks, see Extending the CTERA Main Database or Catalog Node Storage Pool.
Note the Public IP address.
11 In the options for the virtual machine in the left pane, click Networking, under Settings, to add inbound and outbound port rules.
12 For the Inbound port rules tab, click Add inbound port rule.
The Add inbound security rule window is displayed.
13 Add the following inbound port rules and clicking Add after adding each rule:
Name | Protocol | Port | Notes |
|---|---|---|---|
CTTP | TCP | 995 | |
DNS | UDP | 53 | |
HTTP | TCP | 80 | You could also have added HTTP and HTTPS ports when defining the virtual machine, in the Basic tab, described in step 4. |
HTTPS | TCP | 443 | |
PostgreSQL | TCP | 5432 | These ports do not need to be accessible from the Internet. |
Preview | TCP | 18682 |
14 Select the Outbound port rules tab and click Add outbound port rule.
The Add outbound security rule window is displayed.
15 Add the same ports as you added for the inbound security rules (steps 13).
Note: You need to change the Name field, as it was used for the inbound port. For example:
Name | Protocol | Port | Notes |
|---|---|---|---|
DNS1 | UDP | 53 | |
HTTP1 | TCP | 80 | |
HTTPS1 | TCP | 443 | |
NFS | TCP | 111 | |
NTP | UDP | 123 | |
Preview | TCP | 18682 | This port does not need to be accessible from the Internet. |
SMTP | TCP | 25 | 25 is the default SMTP port. Use the port used in your environment. |