Adding and Editing Virtual Portals
This task can be performed in the global administration view only.
To add or edit a virtual portal:
1 In the global administration view, select Main > Portals in the navigation pane.
The PORTALS page opens, displaying all the virtual portals.
2 Either,
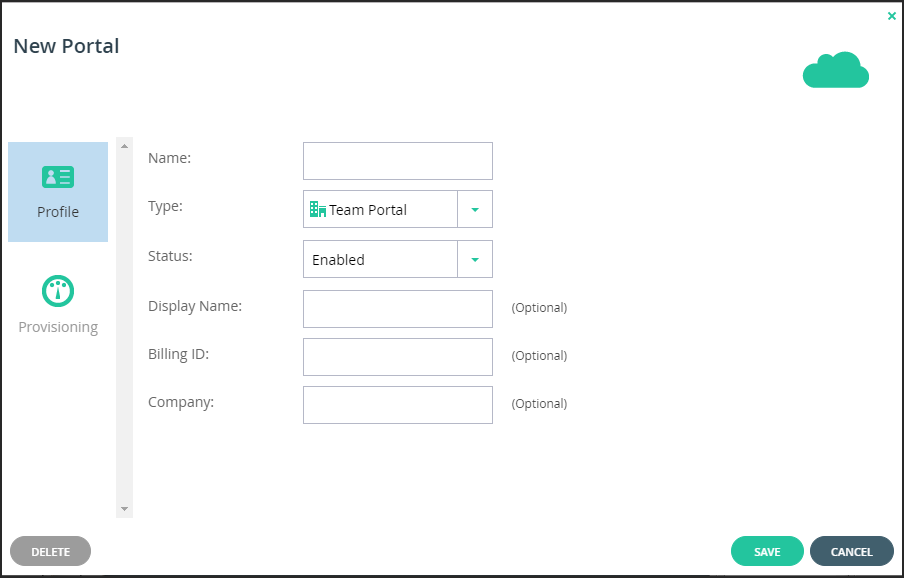
The New Portal window is displayed.
Or,
The portal window is displayed with the portal name as the window title.
3 Complete the fields.
Name – Type a unique name for the virtual portal.
Type – Select the virtual portal's type. This field is read-only, when editing an existing virtual portal.
Status – The status: either Enabled or Disabled. If you set the status to disabled:
Global administrators can still connect to disabled portals via the global administration view.
Display Name – Optional. The name displayed.
Billing ID – Optional. The virtual portal owner's billing ID. This enables integration of the portal with an external billing system.
Company – Optional. The name of the company owning the portal.
Enable Resource Provisioning (Reseller portal only) – Deselect this box to allow a reseller unlimited quotas, subject only to the limits of the CTERA Portal license. If you deselect the box, the Provisioning option is removed.
4 Assign a plan, as described in Assigning Global Plans to Virtual Portals.
5 Add global add-ons, as described in Assigning Add-ons to Virtual Portals.
6 Click SAVE.
Assigning Global Plans to Virtual Portals
This task can be performed in the global administration view only.
A global plan can be added to a virtual portal for every user in the portal. Plans can be assigned to individual users in the virtual portal.
To assign a global plan to a virtual portal:
1 In the global administration view, select Main > Portals in the navigation pane.
The PORTALS page opens, displaying all the virtual portals.
2 Click the portal name.
3 If the virtual portal is a reseller portal, keep the Enable Resource Provisioning check box selected.
4 Click the Provisioning option.
The Provisioning window is displayed.
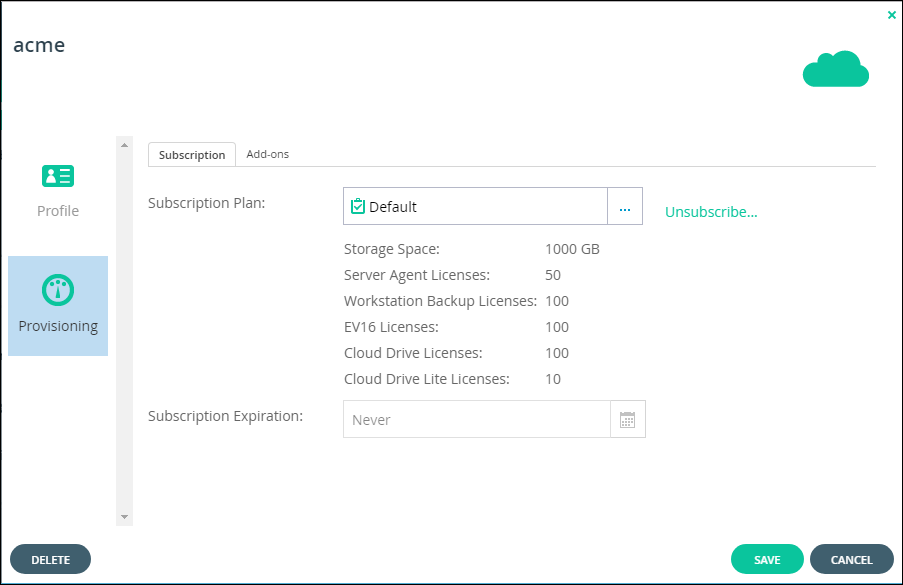
5 Click the Subscription Plan field.
The Select Your Subscription Plan window is displayed.
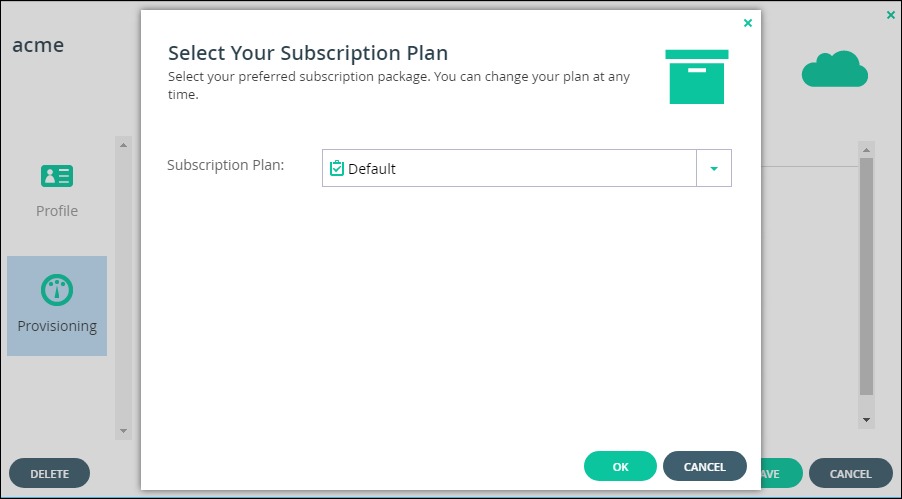
6 In the Subscription Plan drop-down list, select the global plan to assign the portal.
7 Click OK.
8 In the Subscription Expiration field, click  to specify the date on which the portal's subscription to the selected plan will expire. This field is only enabled for plans that are defined as time limited trial plan.
9 Click SAVE.
The virtual portal is assigned to the subscription plan.
Assigning Add-ons to Virtual Portals
This task can be performed in the global administration view only.
An add-on can be added to a virtual portal as part of the provisioning for the portal and the add-on is valid for every user in the portal.
Note: As part of provisioning for a user in a reseller portal, you can also assign add-ons that were defined for the portal.
To assign global add-ons to a virtual portal:
1 In the global administration view, select Main > Portals in the navigation pane.
The PORTALS page opens, displaying all the virtual portals.
2 Click the portal name.
3 If the virtual portal is a reseller portal, keep the Enable Resource Provisioning check box selected.
4 Click the Provisioning option.
The Provisioning window is displayed.

5 Select the Add-ons tab.
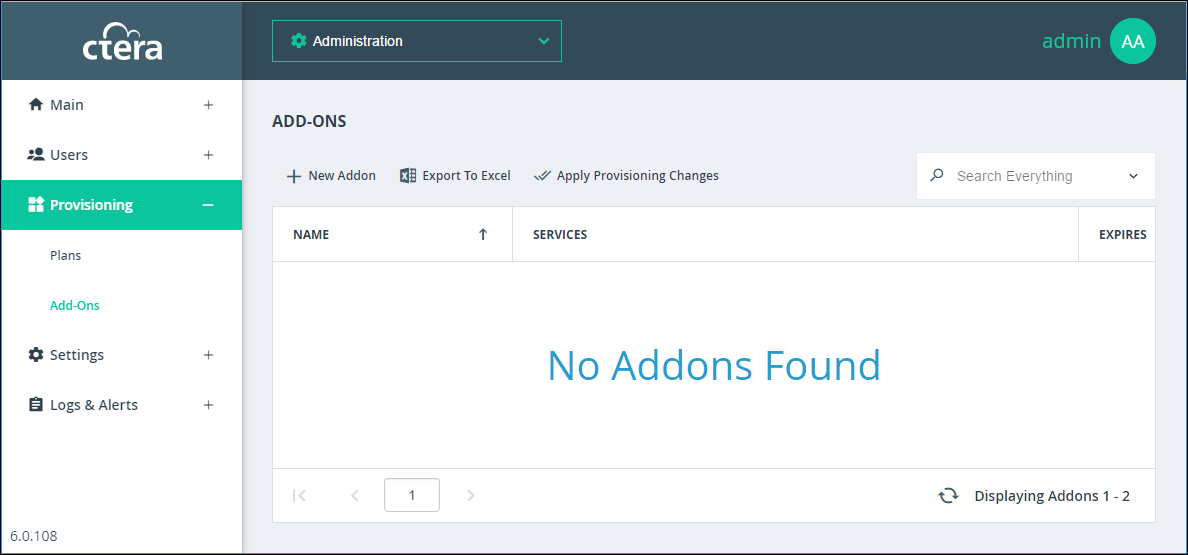
6 Add an add-on for the virtual portal:
a In the drop-down list, select the add-on.
b Click Add.
The add-on is displayed.
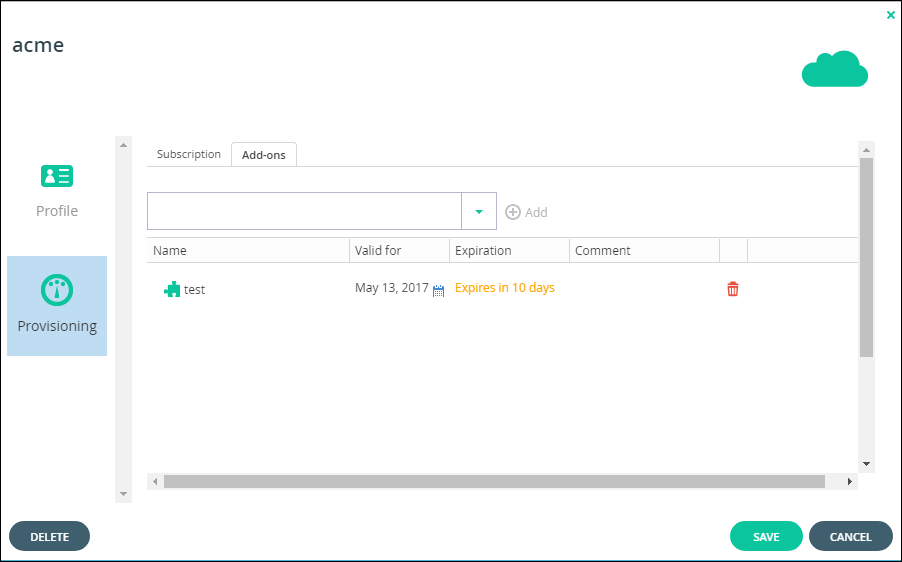
c To select a new date until when the add-on is valid, in the add-on row, click in the Valid for column and then either clear the value, type a new value or click  to display a calendar to select a new date when the add-on subscription should end.
The Expiration column is updated accordingly.
d Optionally, enter a comment in the Comment column.
7 To remove an add-on from the virtual portal, in the add-on row in the list box, click  .
.
 .
.The add-on is removed.
8 Click SAVE.
The virtual portal is assigned to the add-ons.