Configuring Windows File Sharing for a Workgroup
To configure Windows file sharing for a workgroup:
1 In the Configuration tab, select Share > Windows File Sharing.
The Windows File Sharing page is displayed.
2 Click Connect to Domain/Workgroup.
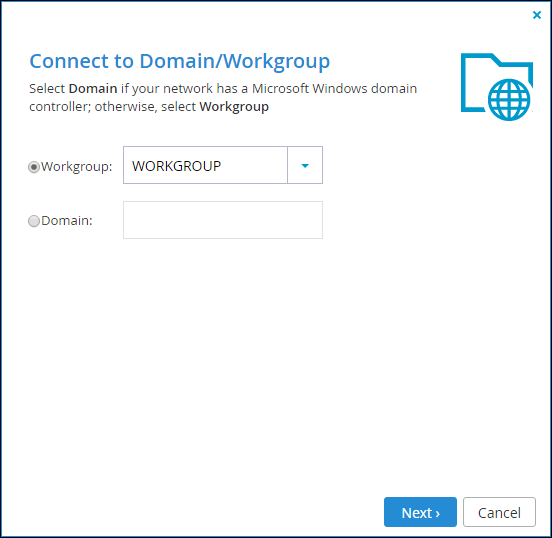
The Windows File Sharing Wizard opens, displaying the Connect to Domain/Workgroup dialog box.
3 Choose Workgroup, and then select the workgroup you want or else type the name of the workgroup in the empty field.
Note: You must assign this same workgroup name to all of the computers in the network.
In most Windows versions, the default workgroup name is WORKGROUP.
The cloud storage gateway automatically scans for available workgroups in the LAN. The results of these scans can be selected from the Workgroup list.
4 Click Next and then click Finish.