Replicating to/from a Remote WebDAV Server
1 In the Configuration tab, select Local Backup > Replication Rules.
The Replication Rules page is displayed.
2 Click New.
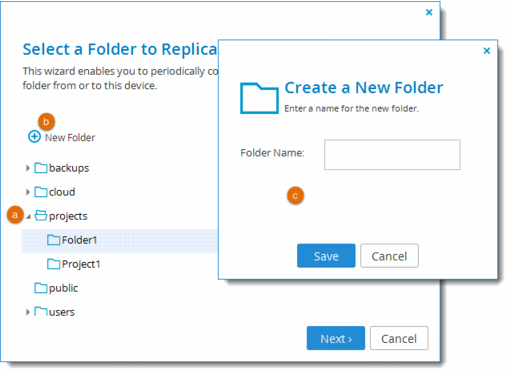
3 Select a local folder on the gateway. This is the local folder that the rule will periodically replicate to a folder on the remote WebDAV server or to which the rule will replicate the a folder on the remote WebDAV server.
a Expand the tree nodes as necessary and select the folder you want to replicate.
b (Optional) To create a new folder, select the parent folder in which you want to create the new folder and click New Folder.
c Then type a name for the folder and click Save. A new folder is added to the selected parent folder.
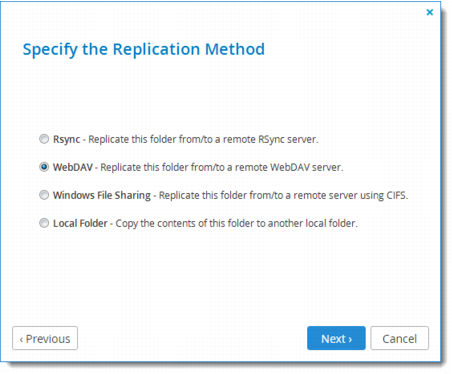
4 Click Next and then select WebDAV as the replication method:
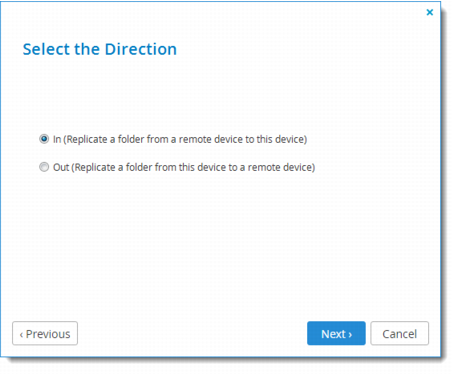
5 Click Next and select the replication direction:
a In. Replicate from the remote server to the cloud storage gateway.
b Out. Replicate the folder from the cloud storage gateway to the remote server.
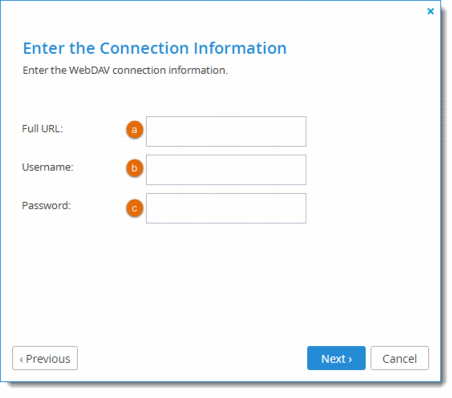
6 Click Next and enter the connection information:
a The full URL of the remote WebDAV server. This must start with http:// or https://.
b Type the user name with which the cloud storage gateway should authenticate to the remote server.
c Type the password with which the cloud storage gateway should authenticate to the remote server.
If the WebDAV server does not require authentication, you can leave the Username and Password fields empty.
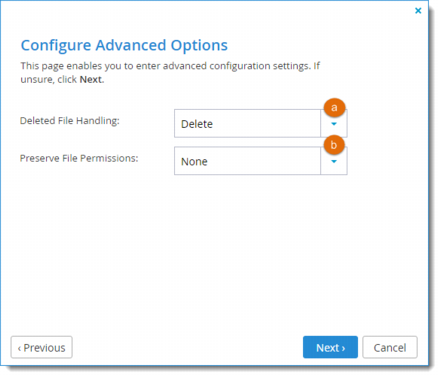
7 Click Next and optionally define advanced configuration settings:
a Specify how deleted files should be handled:
• Keep Deleted Files. Files deleted in the source folder will be kept and not deleted in the destination folder.
For example, if you chose to replicate a local folder to a remote server, and one of the files in the folder is deleted locally, the file will not be deleted on the remote server.
• Move to Trash Can. Files deleted in the source folder will be moved from the destination folder to the Recycle Bin.
• Delete. Files deleted in the source folder will be permanently deleted from the destination folder.
b Specify whether the permissions for replicated files should be retained, by doing one of the following:
• To specify that permissions configured for a file in the source folder should not be retained for the parallel file in the destination folder, select None.
• To specify that basic permissions configured for a file in the source folder should be retained for the parallel file in the destination folder, select Basic Permissions.
• To specify that full permissions configured for a file in the source folder should be retained for the parallel file in the destination folder, select All Permissions.
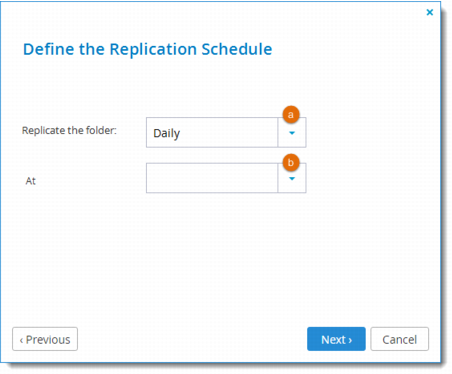
8 Click Next and define the replication schedule.
a Select the frequency at which the folder should be replicated.
b Use the controls provided to specify the exact day, date, or hour at which the folder should be replicated.
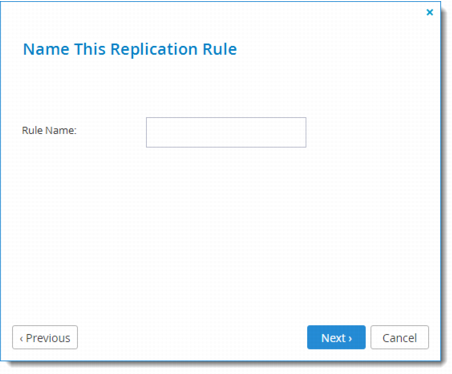
9 Click Next and name the rule.
10 Click Next and then Finish.
The replication rule is added for the specified folder and is displayed in the Replication Rules page.