Setting Up SNMP Monitoring on the Cloud Storage Gateway
1 In the Configurations tab, in the navigation pane, select System > SNMP.
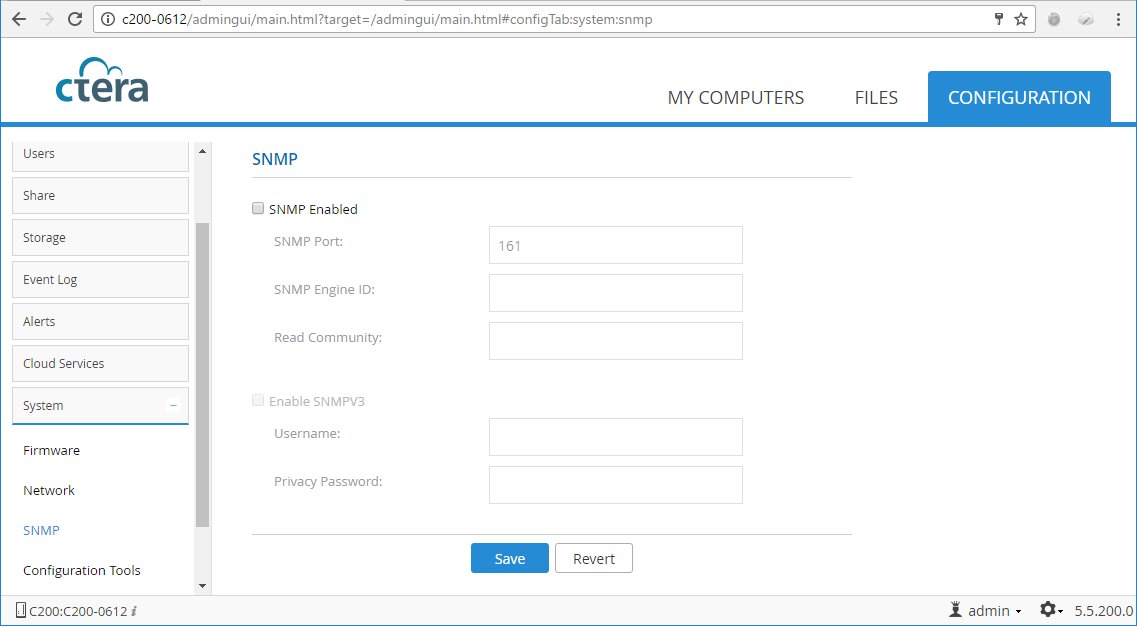
The SNMP configuration page is displayed.
2 Check the SNMP Enabled check box to activate SNMP, and then configure the following settings:
SNMP Port – The default is TCP 161.
Read Community – Configure as Read-Only. The SNMP Read-Only Community String is like a password. It is sent along with each SNMP Get-Request and allows or denies access to device.
Note: SNMP Engine ID is defined automatically based on the MAC address and cannot be changed.
If you are using SNMP v3, check the Enable SNMPV3 check box, and then enter a user name and password.
3 Click Save to save the settings and activate SNMP monitoring.