Installing the CTERA C200
To install the CTERA C200:
1 Install at least one hard drive in the C200.
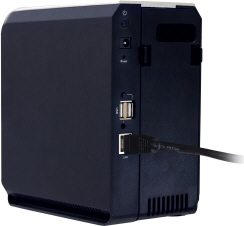
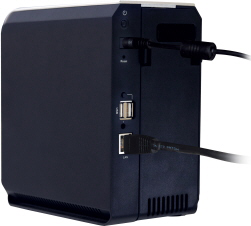
2 Connect one end of the Ethernet cable to the LAN port, and connect the other end to your Ethernet LAN switch or router.
3 Connect the provided power supply cable to the power jack, and connect the power supply to the wall outlet.
4 Press the Power button at the back of the C200.
The C200 will start up, and the Ready/Status LED will flash rapidly in orange and then green. When the LED turns steady green, the C200 is ready.
The C200 automatically obtains an IP address using DHCP.
Note: If a DHCP server is not available, then after one minute, the C200 will use the IP address 192.168.192.5.