Installing the Virtual Gateway in an AWS EC2 Environment
Contact CTERA Networks, and request the latest Amazon Machine Image (AMI).
• Provide CTERA Networks with your Amazon account number.
• Provide CTERA with the AWS region where you are planning to install the CTERA Portal instance.
CTERA Networks will then share their latest AMI with your account.
To install the Virtual Gateway in an AWS EC2 environment:
1 Prepare your Amazon account number, by doing the following:
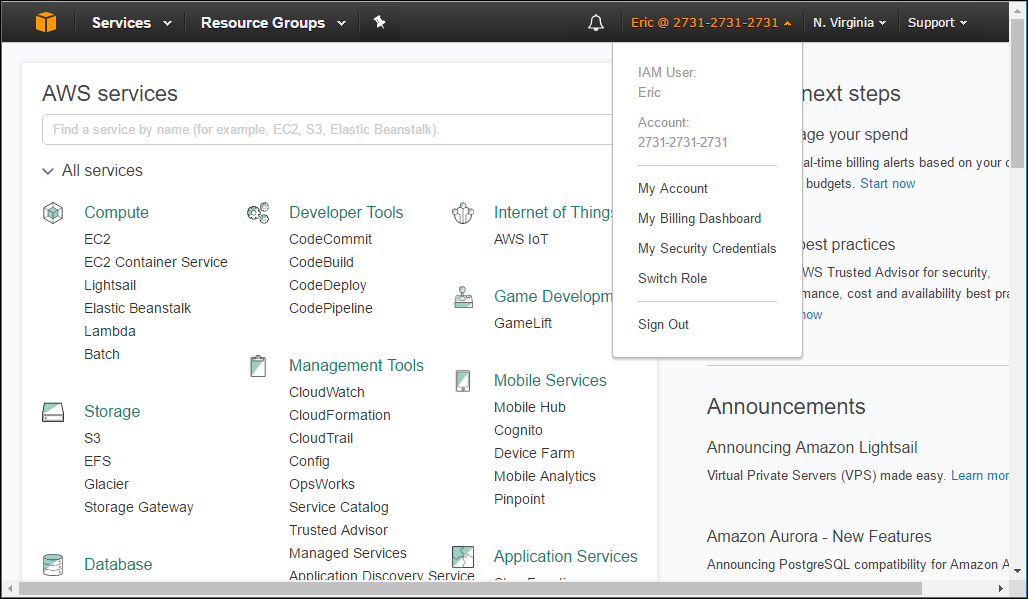
a Log in to your Amazon Web Services account.
b In the upper-right corner of the screen, click your account name, and then click My Account.
The Account > Manage Your Account screen opens, displaying your account ID.
c Copy down your account number.
2 From your Amazon Web Services account, sign in to the AWS Management Console.
3 Click EC2 to open the EC2 dashboard.
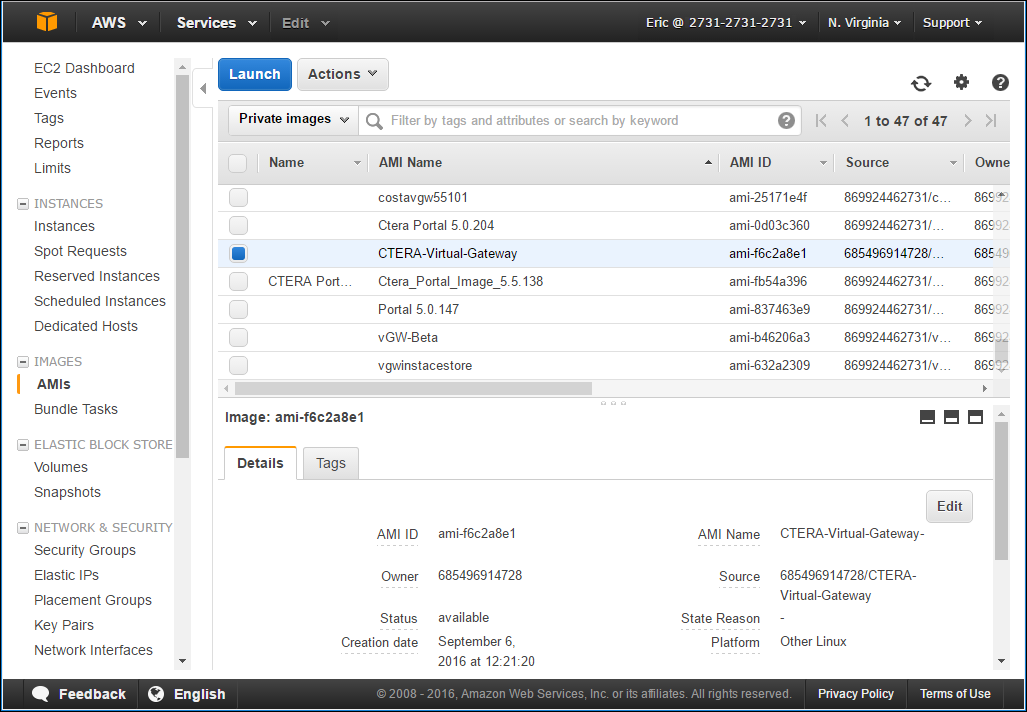
4 In the EC2 dashboard, click AMIs under IMAGES.
5 Select the image provided by CTERA, located under Private images and click Launch.
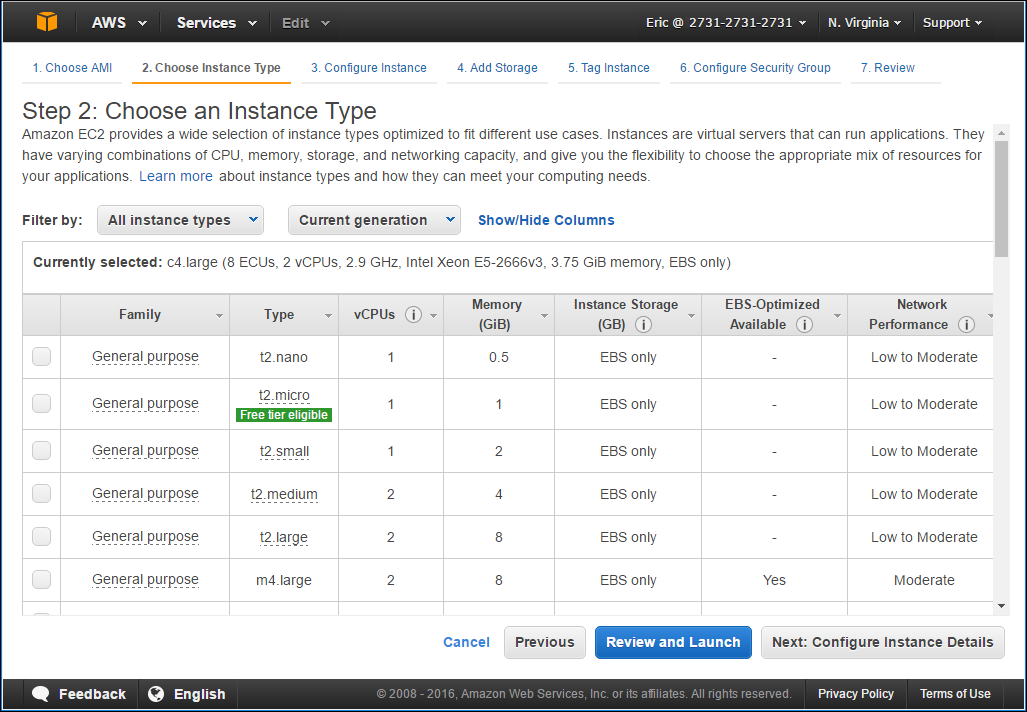
The Step 2: Choose an Instance Type screen is displayed.
6 Select the instance type for the license you purchased:
License | Instance Type |
EV16 | c4.xlarge |
EV32 | c4.2xlarge |
7 Click Next: Configure Instance Details.
The Step 3: Configure Instance Details screen is displayed.
8 Configure the Network and Subnet settings.
9 Select the Protect against accidental termination check box.
10 Click Next: Add Storage.
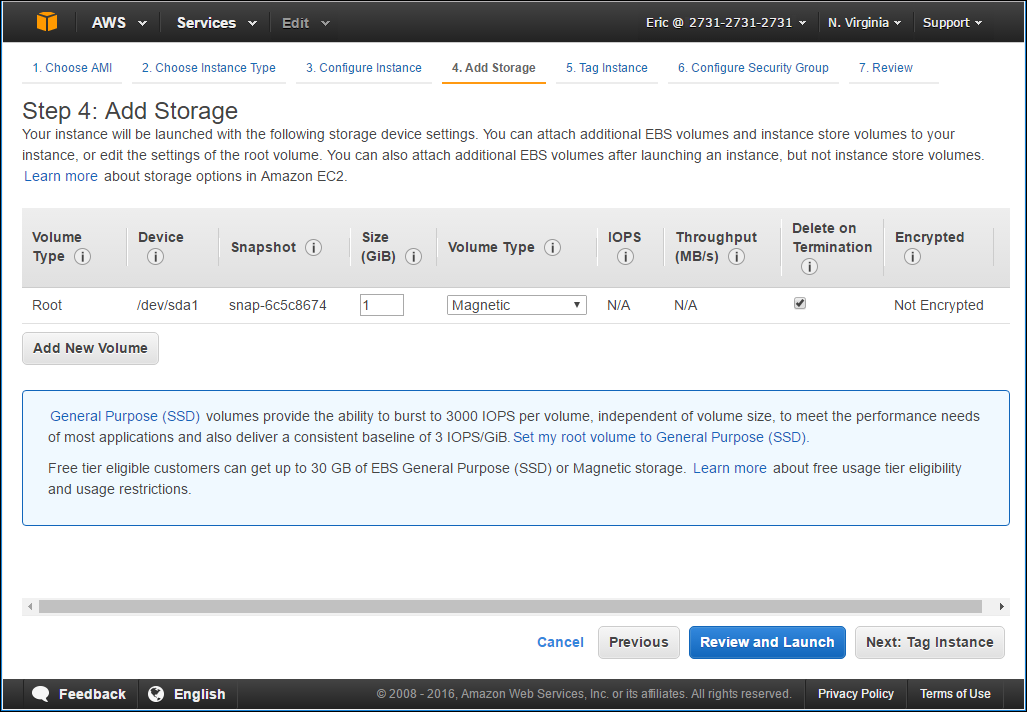
The Step 4: Add Storage screen is displayed.
11 Allocate an additional EBS volume. You will use this volume for gateway functions, such as backups to the gateway.
a Click Add New Volume.
Another row is displayed in the table.
b In the Type field, select EBS.
c In the Size field, type the size of the EBS volume. The maximum size you should define is dependent on the license.
EV16 License: Maximum disk size is 16TB
EV32 License: Maximum disk size is 32TB
The size of the EBS should be large enough to store backups created from your agent machines.
d In the Volume Type field, select Provisioned IOPS SSD (IO1) or Throughput Optimized (ST1).
e In you selected Provisioned IOPS SSD (IO1), enter the maximum value in the IOPS field.
f Check Delete on Termination if you want the volume deleted when the instance is deleted.
g Check Encrypted if you want the volume encrypted.
12 Click Next: Tag Instance.
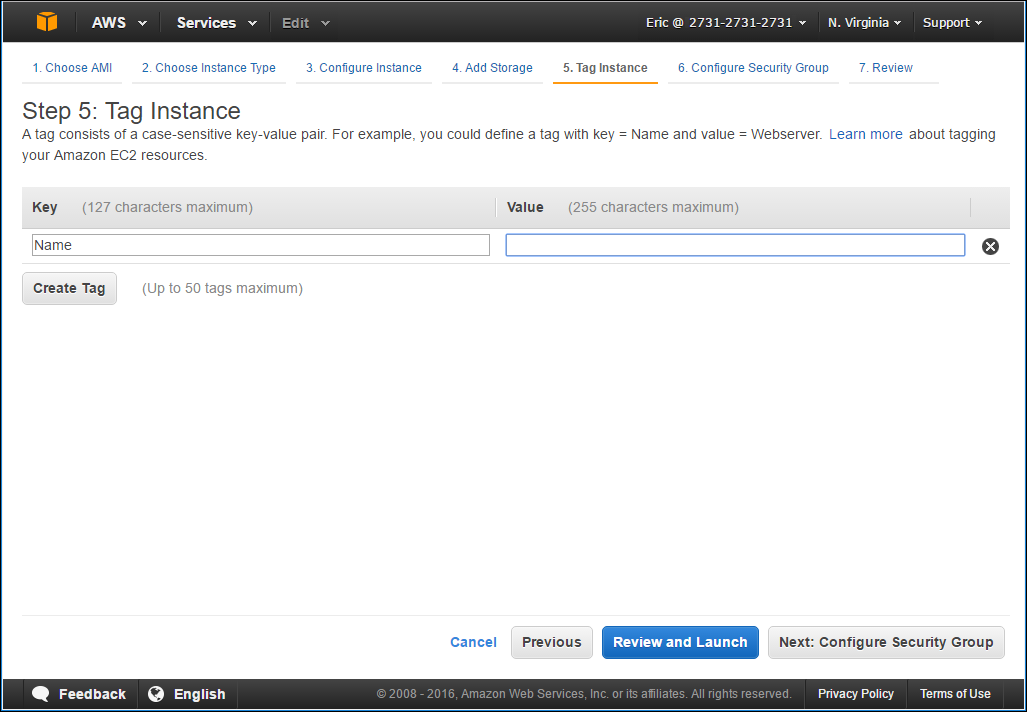
The Step 5: Tag Instance screen is displayed.
13 Optionally, in the Key field type Name and in the Value field, type a name for the CTERA Virtual Gateway instance.
14 Click Next: Configure Security Group.
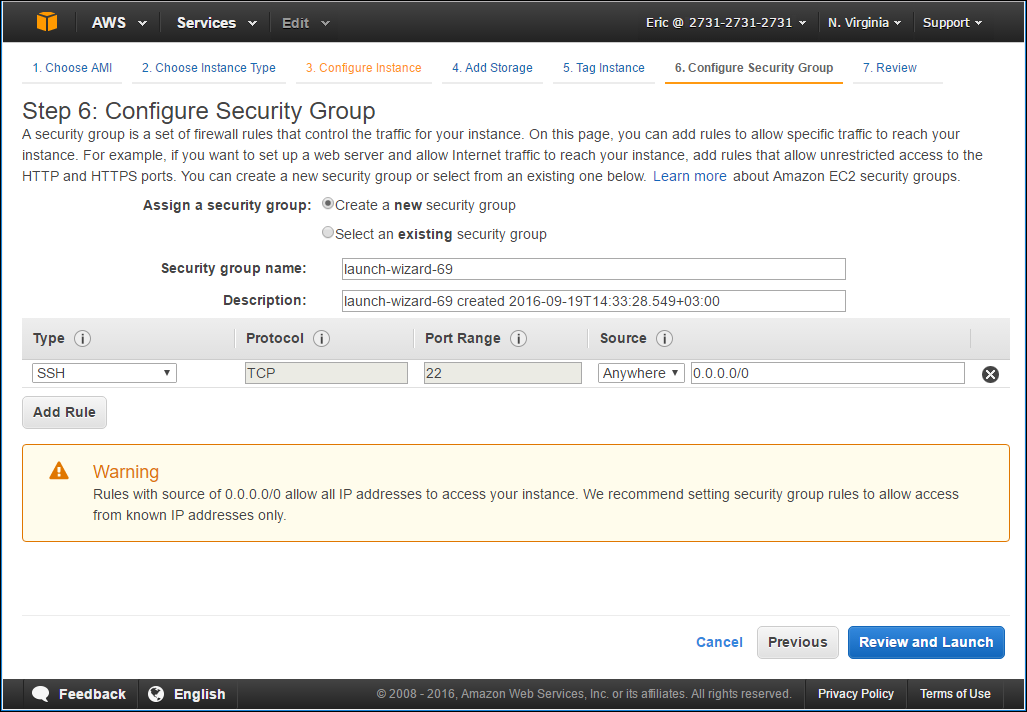
The Step 6: Configure Security Group screen is displayed.
15 Enable the following TCP ports: 22, 873 and 995.
16 Click Review and Launch.
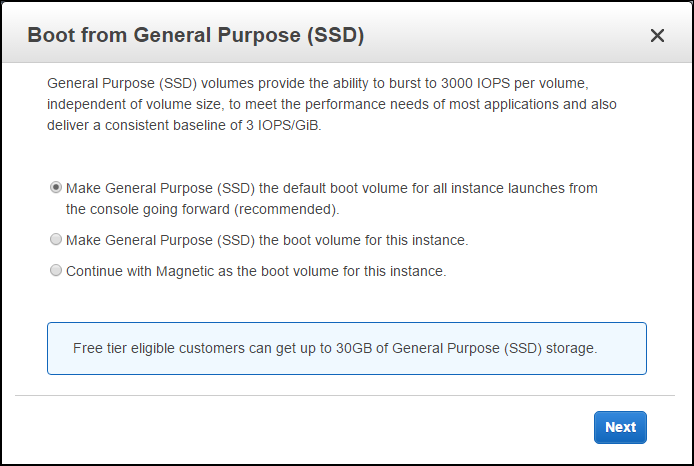
The Boot from General Purpose (SSD) dialog box is displayed.
17 Choose Continue with Magnetic as the boot volume for this instance.
18 Click Next.
The Step 7: Review Instance Launch screen is displayed.
19 Review the configuration and click Launch.
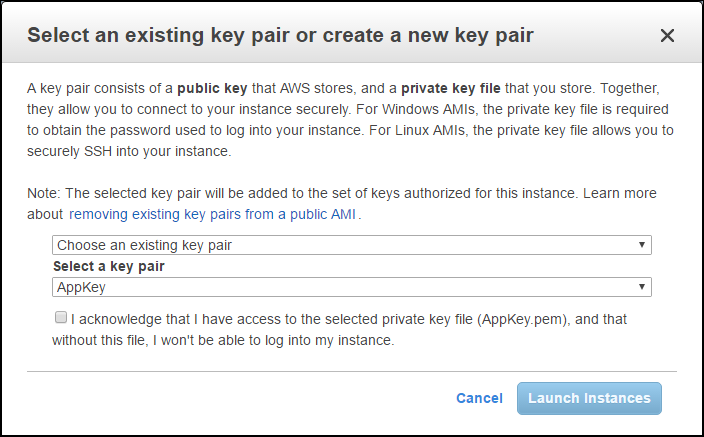
The Select an existing key pair or create a new key pair dialog box is displayed.
20 Do one of the following.
• If you created a key pair, and have the private key file that corresponds to the pair in a safe and accessible place, in the upper drop-down list, select Choose an existing key pair; then select the name of the key pair that you created.
• If you want to create a new key pair, do the following:
i In the upper drop-down list, select Create a new key pair.
ii In the Key pair name field, enter a name for the key pair.
iii Click Download Key Pair.
A private key in *.pem format is downloaded.
Be sure to save the private key file in a safe place. You will need to provide the name of your key pair when you launch the instance and the corresponding private key each time you connect to the instance.
Warning: Do not select Proceed without a key pair. If you launch your instance without a key pair, you will not be able to connect to it.
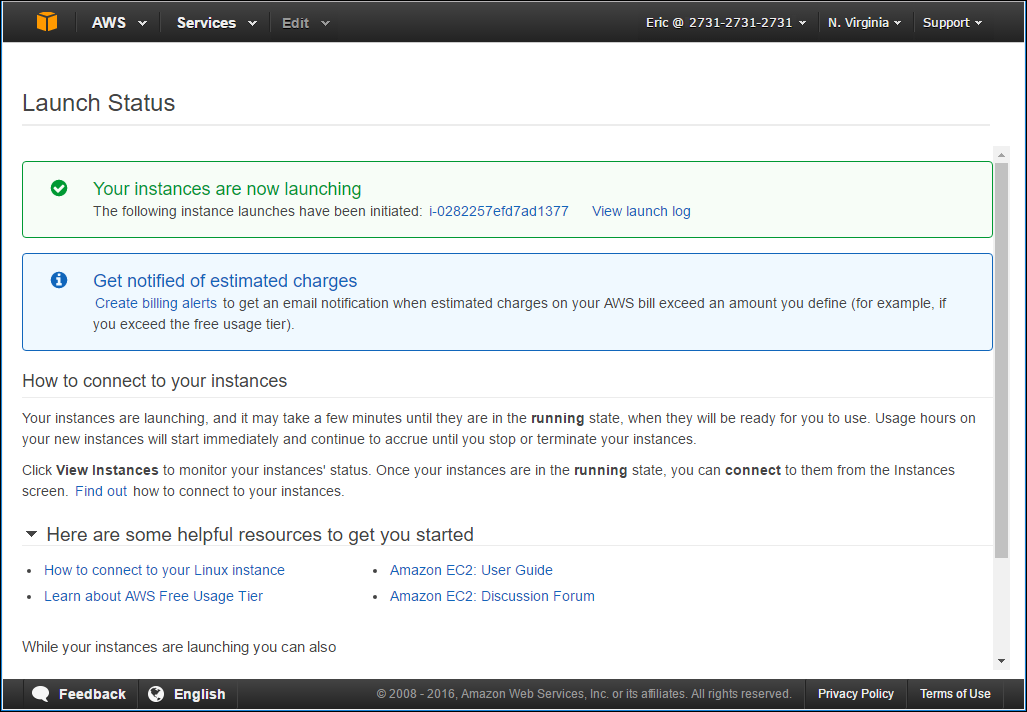
21 Click Launch Instances.
The Launch Status screen is displayed.
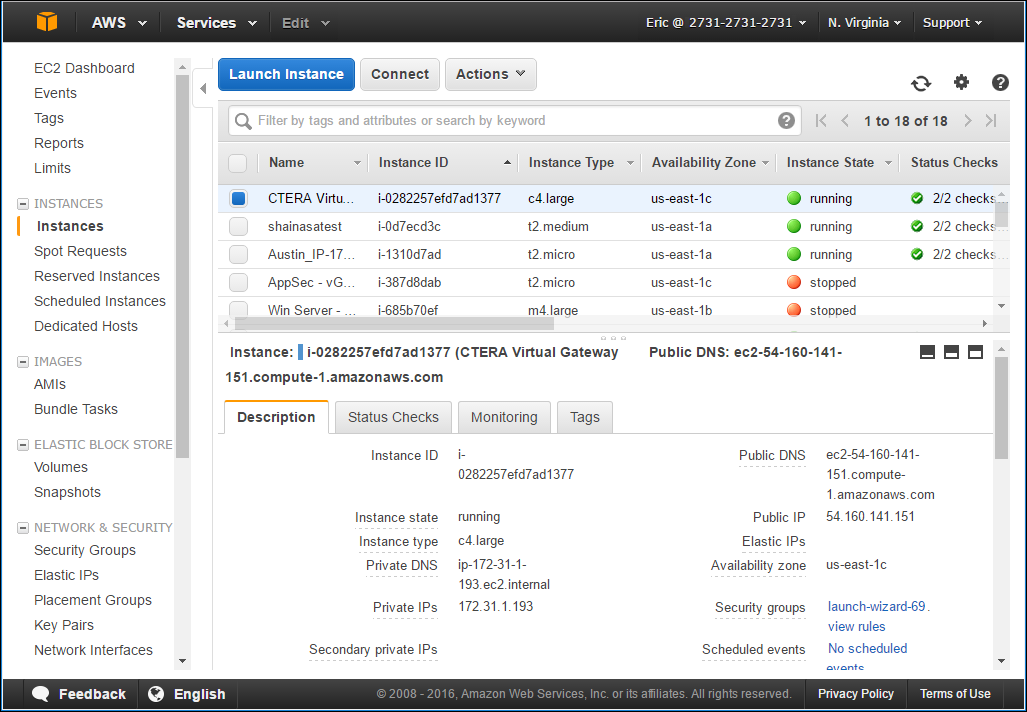
22 In EC2, click Instances under INSTANCES.
The Instances screen opens, displaying the newly launched CTERA Virtual Gateway instance.
23 Select the instance you created.
Information about the instance is displayed in the lower half of the screen, in the Description tab.
24 Open a web browser and enter the CTERA Virtual Gateway's public IP address.