Increasing Storage for a V-Series Gateway
CTERA recommends that the maximum storage is defined as a single disk when the virtual gateway is created.
Note: If you have to add a disk, unless the original disk was configured as a JBOD or RAID0 array, the two disks are separate. If a JBOD or RAID0 array was defined for the original disk, then after adding a new disk, it can be added to the array.
The amount of storage that can be used by a CTERA Edge Filer is dependent on the license:
For an EV16 license the maximum is 16TB.
For an EV32 license the maximum is 32TB.
For an EV64 license the maximum is 64TB.
For an EV128 license the maximum is 128TB.
You can increase the storage available for a gateway:
Note: VMware ESXi limits disks to a maximum of 62TB. To support storage greater than 62TB, you need to create multiple disks, each less than 62TB and then create an array of these disks in RAID 0. See ESXi: Increasing Available Storage to More Than 62TB.
Increasing a Volume Size When Additional Storage is Not Available
For a Gateway in AWS
The following procedure includes creating a snapshot of the existing volume as a backup.
To increase storage:
1 Log in to your Amazon Web Services account.
2 Perform the following steps to take a snapshot of the CTERA database EBS volume as a backup.
a In the Amazon Web Services > Compute area, click EC2.
The EC2 Dashboard screen is displayed.
b In the navigation pane, click ELASTIC BLOCK STORE > Volumes.
The ELASTIC BLOCK STORE > Volumes screen is displayed.
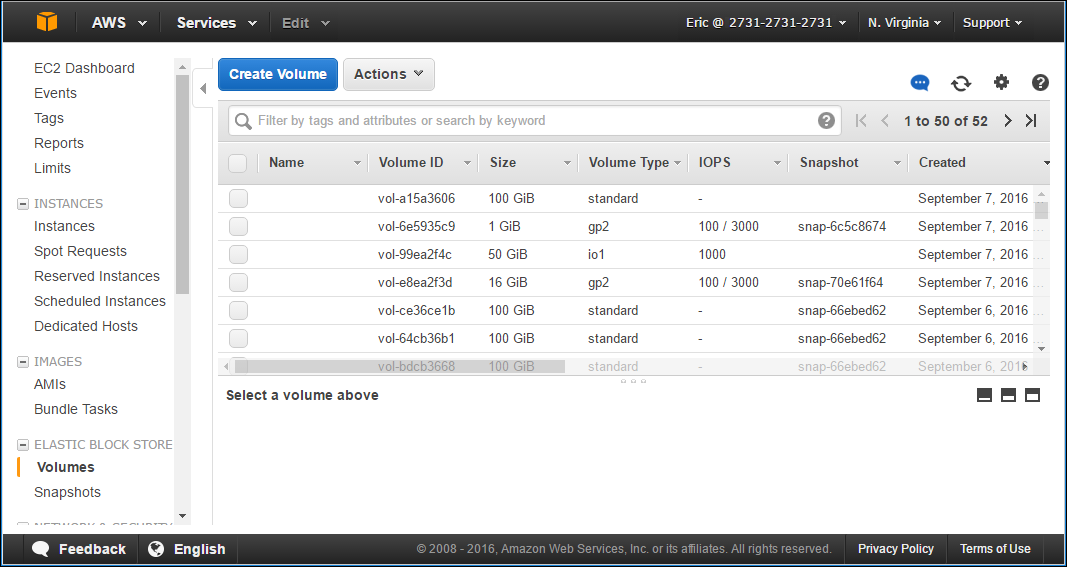
c Locate the EBS volume to enlarge, right-click it and click Create Snapshot.
The Create Snapshot pane is displayed.
d Optionally, enter a description for the snapshot.
e Click Create Snapshot.
3 In the Amazon Web Services EC2 Dashboard under ELASTIC BLOCK STORE > Volumes, locate the currently attached database EBS volume to enlarge, right-click it and click Modify Volume.
The Modify Volume window is displayed.
4 Specify the disk size greater than the current size. When configured as a Caching Gateway, CTERA recommends storage at least 20% of the Portal Global Name Space. The maximum usable storage is dependent on the license.
For an EV16 license the maximum is 16TB.
For an EV32 license the maximum is 32TB.
For an EV64 license the maximum is 64TB.
For an EV128 license the maximum is 128TB.
5 Click Modify.
6 Follow the instructions in Increasing a Volume Size When Additional Storage is Available for the Volume.
For a Gateway in ESXi
To enlarge a volume:
1 In the vSphere Client, power off the virtual machine.
2 Right-click the Virtual Gateway VM and select Edit Settings.
The configuration is displayed for the Virtual Gateway.
3 Specify the disk size greater than the current size. When configured as a Caching Gateway, CTERA recommends storage at least 20% of the Portal Global Name Space. The maximum usable storage is dependent on the license.
For an EV16 license the maximum is 16TB.
For an EV32 license the maximum is 32TB.
For an EV64 license the maximum is 64TB.
For an EV128 license the maximum is 128TB.
Note: VMware ESXi limits disks to a maximum of 62TB. If more than 62TB is required, see ESXi: Increasing Available Storage to More Than 62TB.
4 Click OK.
5 Power on the virtual machine and follow the instructions in Increasing a Volume Size When Additional Storage is Available for the Volume.
For a Gateway in Hyper-V
To enlarge a volume:
Note: You can only expand a disk in Hyper-V if it was initially defined as Dynamically expanding. If it was defined as Fixed size, you can add another disk but you cannot expand the existing disk.
1 In the Hyper-V Manager, shut down the virtual machine.
2 Right-click the Virtual Gateway VM and select Settings.
The configuration is displayed for the Virtual Gateway.
3 Choose the hard disk and click Edit.
The Edit Virtual Hard Disk Wizard is displayed.
4 In the Choose Action page, select Expand and click Next.
5 Specify the disk size greater than the current size. When configured as a Caching Gateway, CTERA recommends storage at least 20% of the Portal Global Name Space. The maximum usable storage is dependent on the license.
For an EV16 license the maximum is 16TB.
For an EV32 license the maximum is 32TB.
For an EV64 license the maximum is 64TB.
For an EV128 license the maximum is 128TB.
6 Click Finish.
7 Start the virtual machine and follow the instructions in Increasing a Volume Size When Additional Storage is Available for the Volume.
ESXi: Increasing Available Storage to More Than 62TB
Adding a disk when the original disk is already 62TB, which is the maximum VMDK size supported by an ESXi host, does not enable increasing the volume size unless the original disk was configured as a JBOD or RAID0 array, since the two disks are separate. If a JBOD or RAID0 array was initially defined, then after adding a new disk, it can be added to the array.
To increase storage:
1 In the vSphere Web Client, power off the virtual machine.
2 Right-click the Virtual Gateway VM and select Edit Settings.
The configuration is displayed for the Virtual Gateway.
3 Click ADD NEW DEVICE and select Hard Disk from the drop-down menu.
4 Specify the disk size. When configured as a Caching Gateway, CTERA recommends storage at least 20% of the Portal Global Name Space. The maximum usable storage is dependent on the license.
For an EV16 license the maximum is 16TB.
For an EV32 license the maximum is 32TB.
For an EV64 license the maximum is 64TB.
For an EV128 license the maximum is 128TB.
Note: A VMware ESXi host limits disks to a maximum of 62TB. To support storage greater than 62TB, you need to create multiple disks, each less than 62TB and then create a JBOD or RAID0 array.
5 Expand the New Hard disk item and set the Virtual Device Node to a SCSI controller.
Note: If a SCSI controller is not defined, you can add one by clicking Add other device and selecting SCSI Controller.
6 Click OK.
7 Power on the virtual machine.
8 Log on to the gateway as an administrator.
9 In the CONFIGURATION tab, select Storage > Arrays in the navigation pane.
10 Select the array and click Edit.
The Select drives to join this array wizard is displayed, which shows you all drives available and asks you to select drives to join the array.
11 Check the Member box for each drive to include in the array.
12 Click Next to the end of the wizard and then click Finish.
13 Follow the instructions in Increasing a Volume Size When Additional Storage is Available for the Volume.