Easy Storage Setup
The easiest way to set up your storage is to use the Storage Setup Wizard, which detects the drives in your cloud storage gateway, recommends an optimal array type for the number and sizes of drives you have, and creates one logical volume on the array using the whole capacity of the array.
The web interface includes a Setup Wizard that enables you to quickly configure basic, recommended settings for your cloud storage gateway. The wizard is displayed automatically upon initial login; however, if desired, you can close the wizard at any stage, and set up the cloud storage gateway without the aid of the wizard. You can run the wizard at any time using the following procedure.
Step 1: Install hard drives in the cloud storage gateway (C-series only):
Note: It is possible to install hard drives without switching off the cloud storage gateway.
Step 2: Run the Easy Storage Setup Wizard
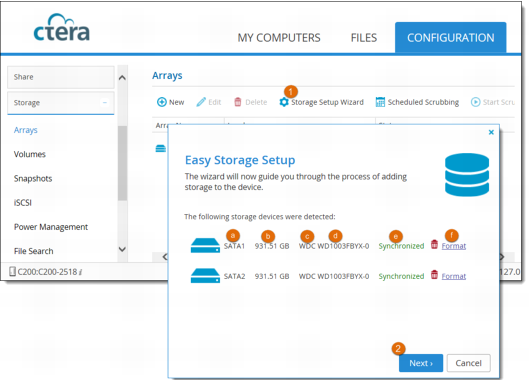
1 Go to Storage > Arrays or Storage > Volumes and click Storage Setup Wizard.
For each drive installed in the cloud storage gateway, the following is displayed:
a Port number
b Capacity in GB
c Type,
d Model.
e Status
f The Format button, if there is already data on the drive. If there is no data on the drive, the drive's status will be “Empty”, and the drive will be formatted automatically. Clicking Format and then Yes to confirm formats the drive and erases all the data on the drive.
Warning: Formatting erases all data on the drive. If you would like to retain data on a drive, do not format it.
Note: The cloud storage gateway supports using hard drives preformatted using the following file systems: FAT32, NTFS, EXT3, NEXT3™. If your hard drive is already formatted using one of these file systems, then you are not required to format it. If you choose to format a drive, it will use the NEXT3 file system.
2 Click Next.
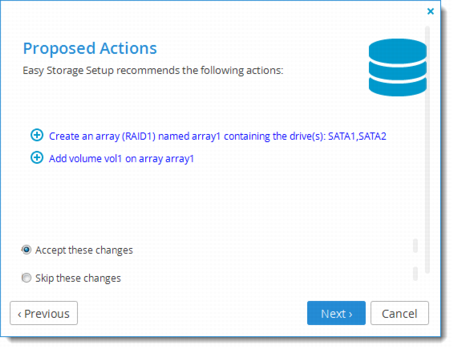
If the Storage Setup Wizard determines that certain storage configuration changes involving this drive would be beneficial, the Proposed Actions dialog box is displayed describing the changes.
a Selecting this option performs the proposed actions.
b Selecting this option skips the actions proposed by the wizard.
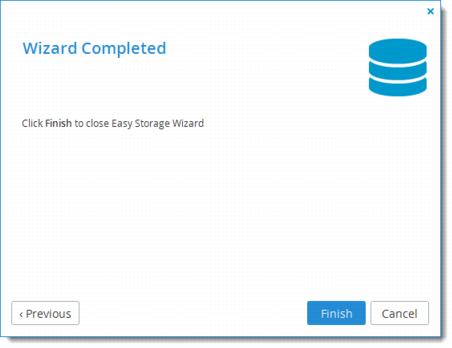
3 Select one of the options, click Next and then click Finish.