Migrating Storage Nodes
This task can be performed in the global administration view only.
CTERA Portal is a storage-agnostic platform that supports a variety of block and object storage vendors. By abstracting the backend storage using a software-defined storage architecture. CTERA Portal can migrate data between storage nodes, including between on-premises and cloud storage block/object storage nodes. This helps you to manage and implement infrastructure changes, hardware retirement policies, and business objectives. The migration does not require down time, as it is performed in the background while the service remains fully operational. Users can continue to access, backup, sync, and share data during the data migration process.
Migrating to Multiple Storage Nodes
If more than one storage node is connected to the portal, data is migrated to all the storage nodes connected at the time the migration is performed that are not defined as dedicated storage nodes and are write-enabled. For details about defining a storage node as write enabled, the default, see Enabling and Disabling Writes to a Node.
Migrating from a Dedicated Storage Node
If the source storage node is dedicated to a single virtual portal, its data is migrated only to other storage nodes that are dedicated to the same portal. If more than one dedicated storage node is connected to the portal, data is migrated to all the dedicated storage nodes connected at the time the migration is performed that are write-enabled. For details about defining a dedicated storage node, see Adding and Editing Storage Nodes.
The Migration Procedure
To migrate a storage node:
1 In the global administration view, select Main > Storage Nodes in the navigation pane.
The STORAGE NODES page is displayed.
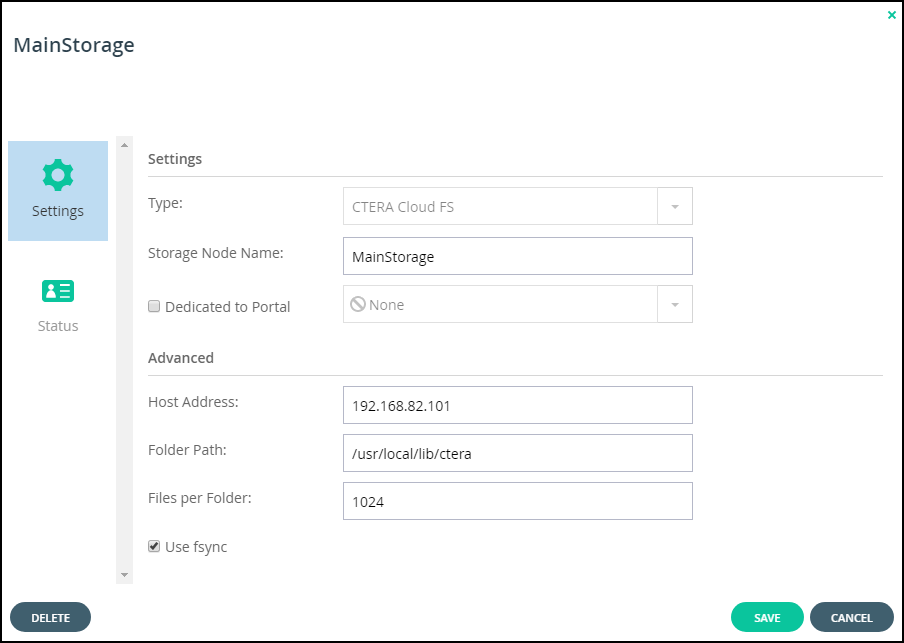
2 Click the storage node's name.
The storage node window is displayed with the storage node name as the window title.

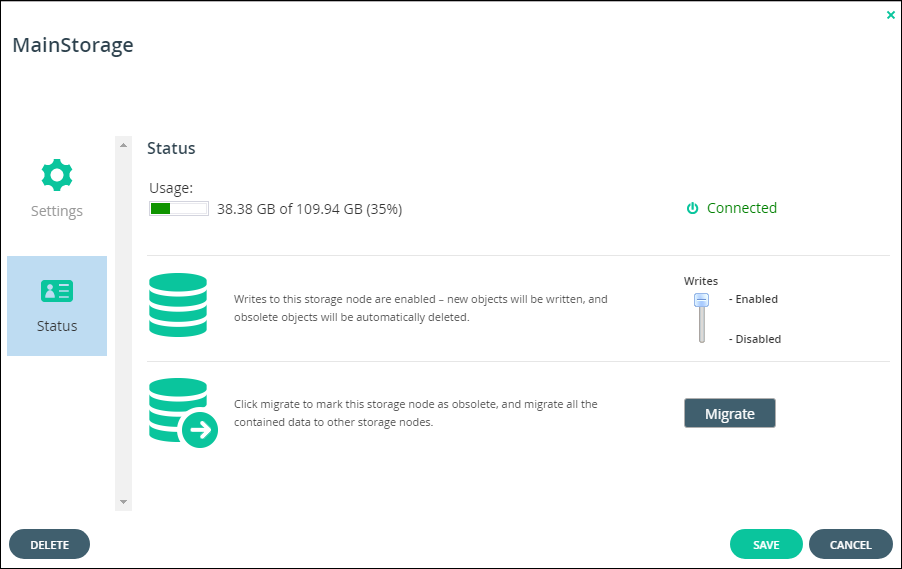
3 Select the Status option.

4 Click Migrate.
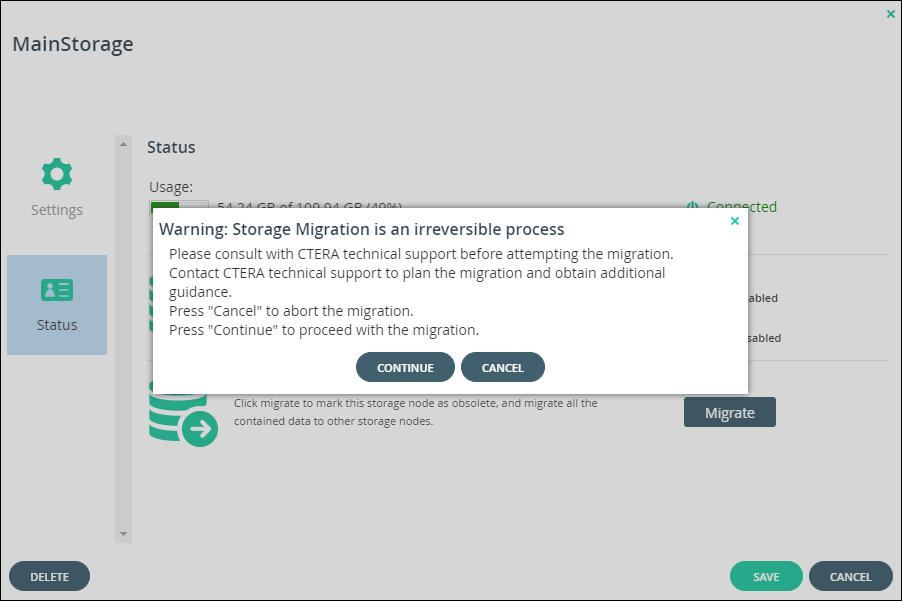
A message is displayed, recommending contacting CTERA support before starting the migration.

5 If you have already contacted CTERA Support and understand the implications of the migration, click CONTINUE, otherwise, click CANCEL.
All of the data on the storage node is transferred to the other available write-enabled nodes.
Monitoring the Migration
The migration process can be monitored in the Activity tab of the server manager. To open the server manager, click the server's name in the Main > Servers page. Select the Activity tab.
To monitor a migration operation:
1 In the global administration view, select Main > Servers in the navigation pane.
The SERVERS page is displayed.
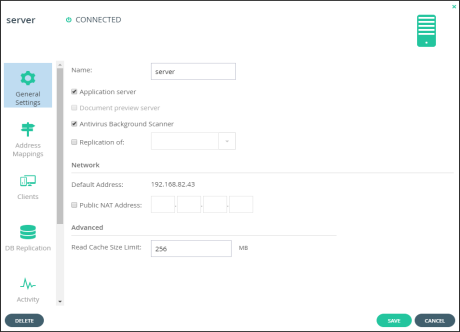
2 Click the server hosting the storage node being migrated.
The server window is displayed with the server name as the window title.

3 Click the Activity option and scroll down to the graphs displaying the migration operation:
You can use this information together with the total storage that needs to be migrated, which is displayed in the storage node status option, to calculate approximately how long the migration will take to complete.