Adding and Editing Storage Nodes
This task can be performed in the global administration view only.
To add or edit a storage node:
1 For NFS storage nodes, EMC Isilon (NFS), Generic (NFS), and NetApp (NFS):
a Log in to the server as root, using SSH.
b Create a folder for the NFS mount on the server.
c Mount the NFS storage node to each server, except the preview server, by running the following script on each server:
ctera-mount.sh mount_storage_node NFS_IP:/NFS_FOLDER
where NFS_IP is the IP address of the NFS mount point, and NFS_FOLDER is the name of the folder you created on the NFS server.
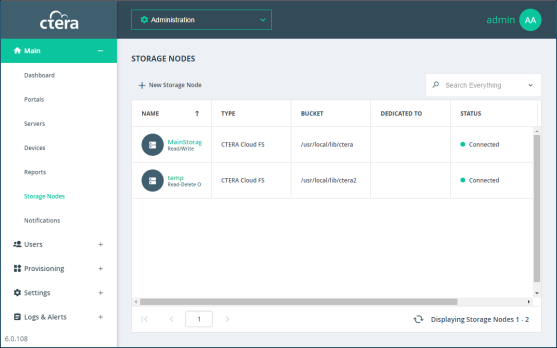
2 In the global administration view, select Main > Storage Nodes in the navigation pane.
The STORAGE NODES page is displayed.

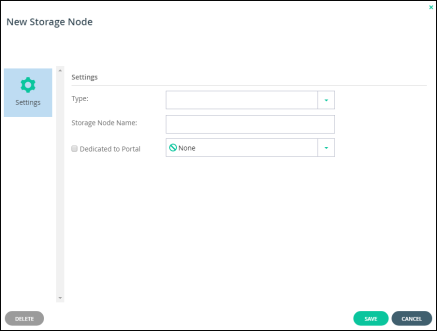
3 Either,
The New Storage Node window is displayed.

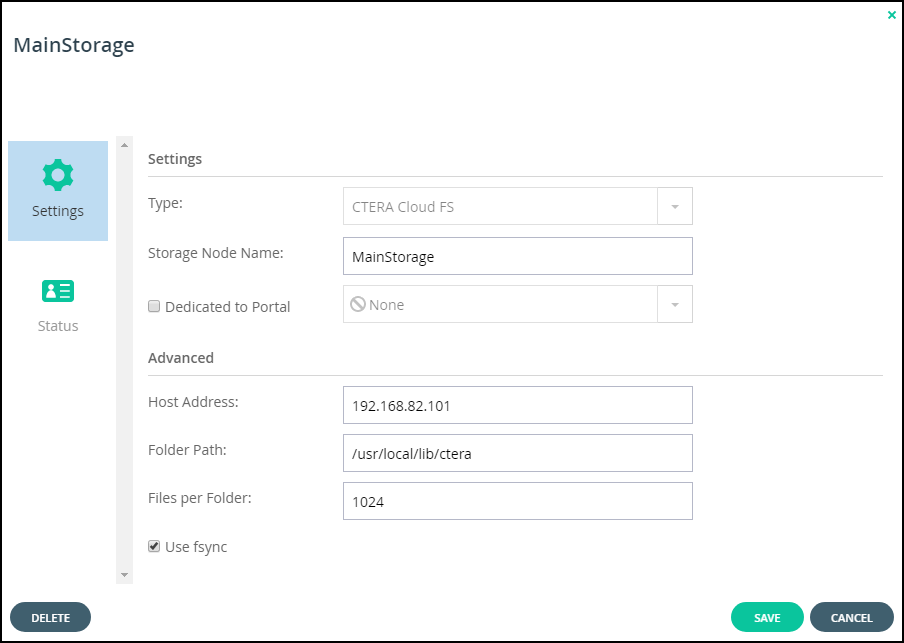
Or,
The storage node window is displayed with the storage node name as the window title.

The details displayed depend on the type of storage node.
4 Enter the generic details for the storage node. These details are the same for every type of storage node.
Type – The type of storage node you are adding. When you select the type, more fields are displayed so that you can add the specific details for the type, as described in step 5.
Storage Node Name – A unique name to identify the storage node.
Dedicated to Portal – Dedicate the storage node to one virtual portal selected from the drop-down list.
5 Complete the additional fields that are displayed when you choose the type.
6 Click SAVE.