- From your Amazon Web Services account, sign in to the AWS Management Console (Open the My Account menu and select AWS Management Console).
- Click EC2.
The EC2 dashboard opens.
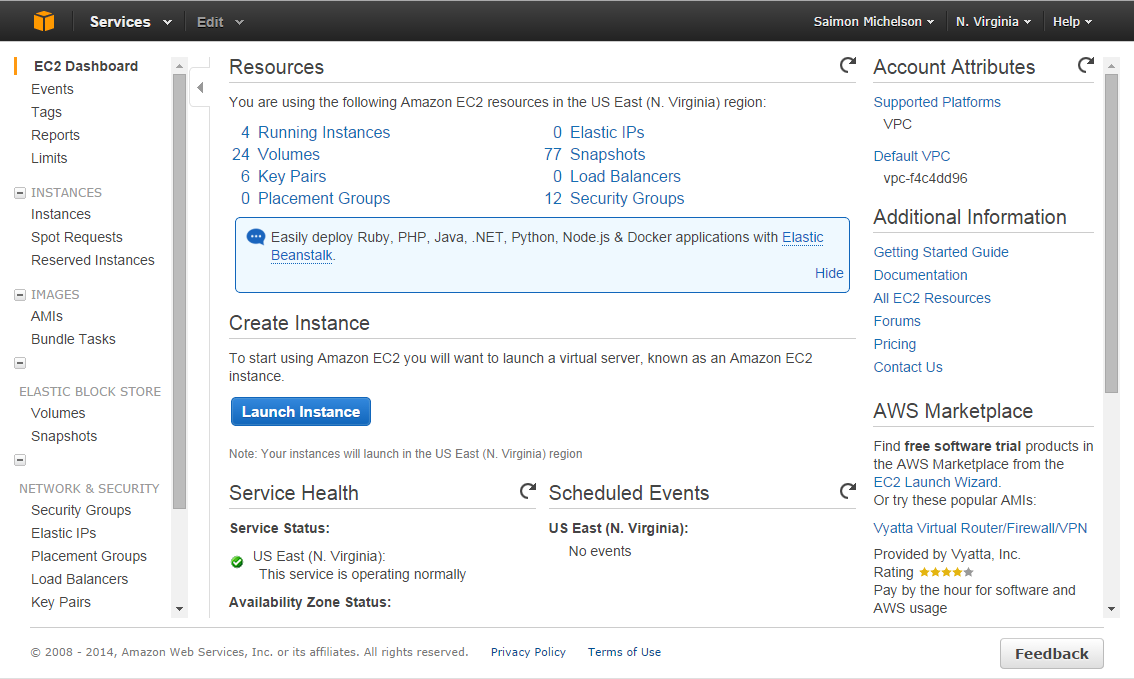
- In the navigation pane, click IMAGES > AMIs.
The IMAGES > AMIs screen appears.
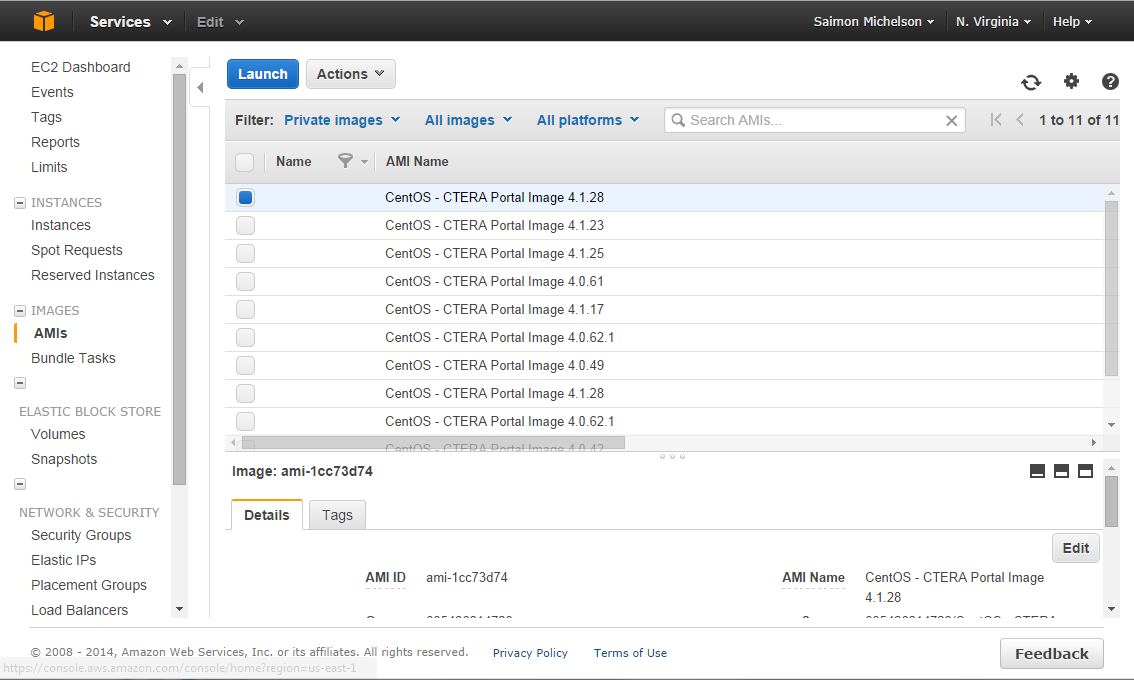
- Select the check box next to the AMI that CTERA shared with you.
- Click Launch.
- The Instances Wizard opens displaying the Step 2: Choose Instance Type screen's Micro instances tab.
- In the left pane, click All instance types.
The All instance types tab appears.
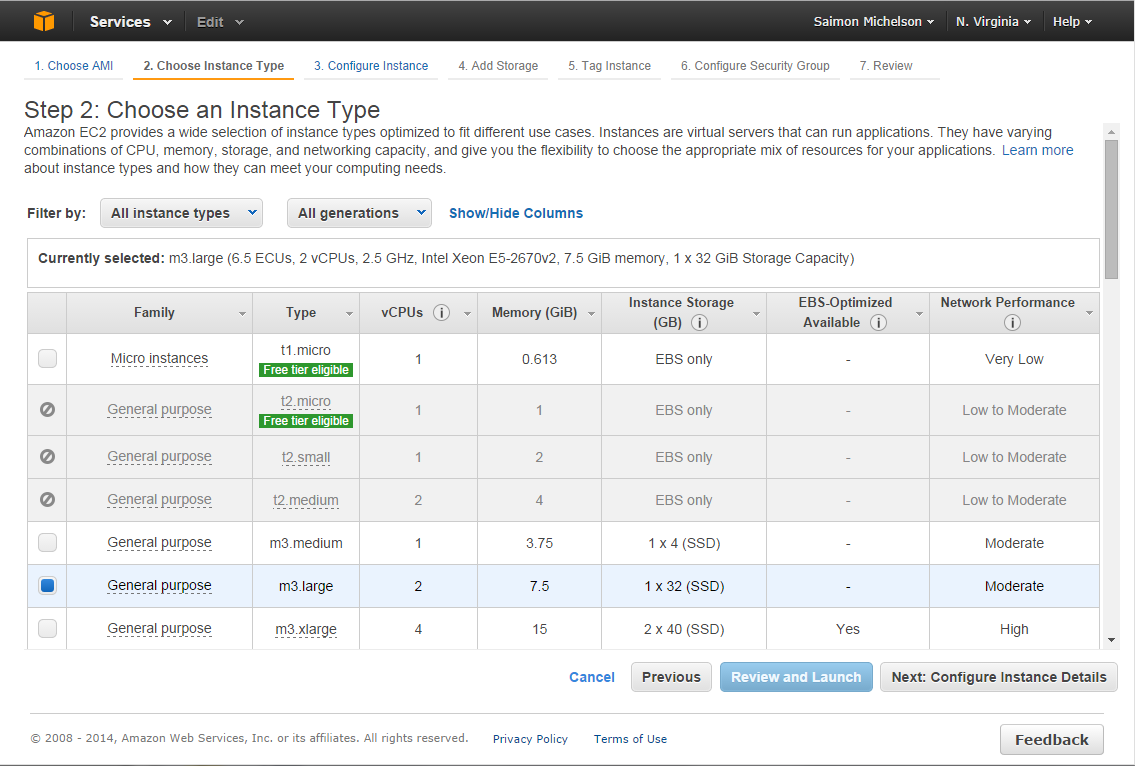
- Select the hardware configuration for your instance. The minimum requirement is m3.large with 7.5 GB memory.
- Click Next: Configure Instance Details.
The Step 3: Configure Instance Details page appears.
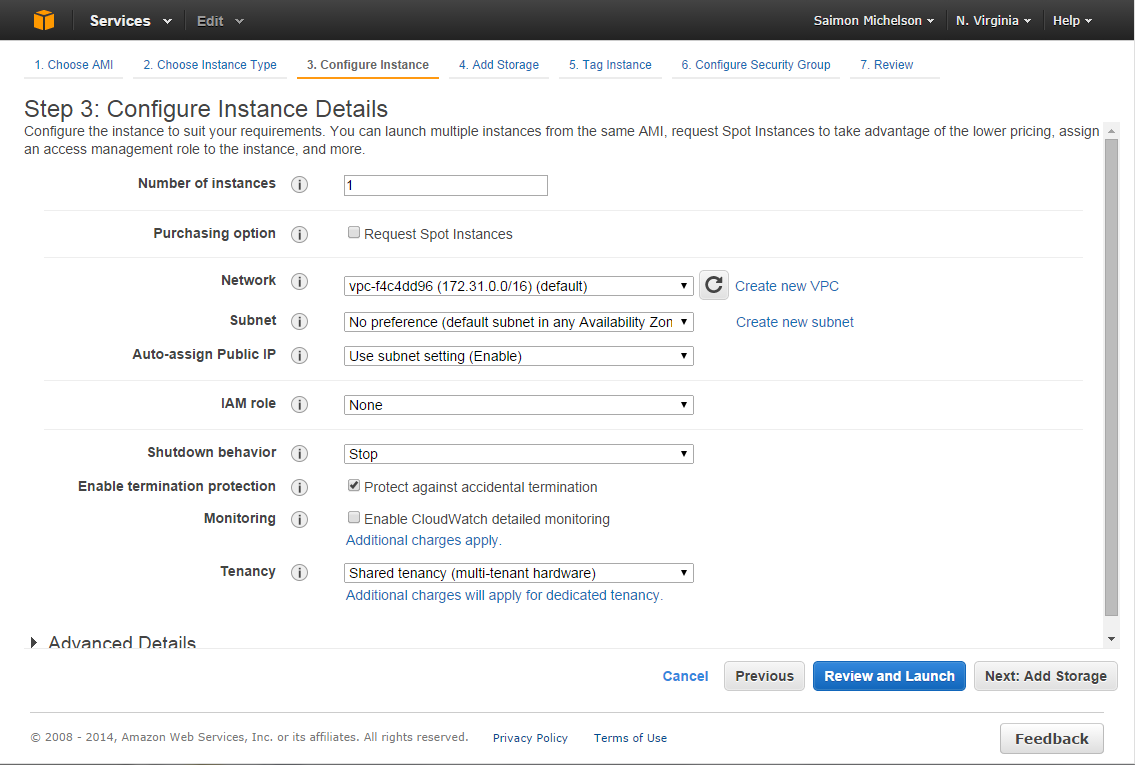
- Check the Protect against accidental termination box.
- When installing a Main Database server, check the Launch as EBS-optimized instance.
- Click Next : Add Storage.
The Step 4: Add Storage page appears, displaying one volume.
- Add another volume, by clicking Add New Volume.
A new storage volume row is added.
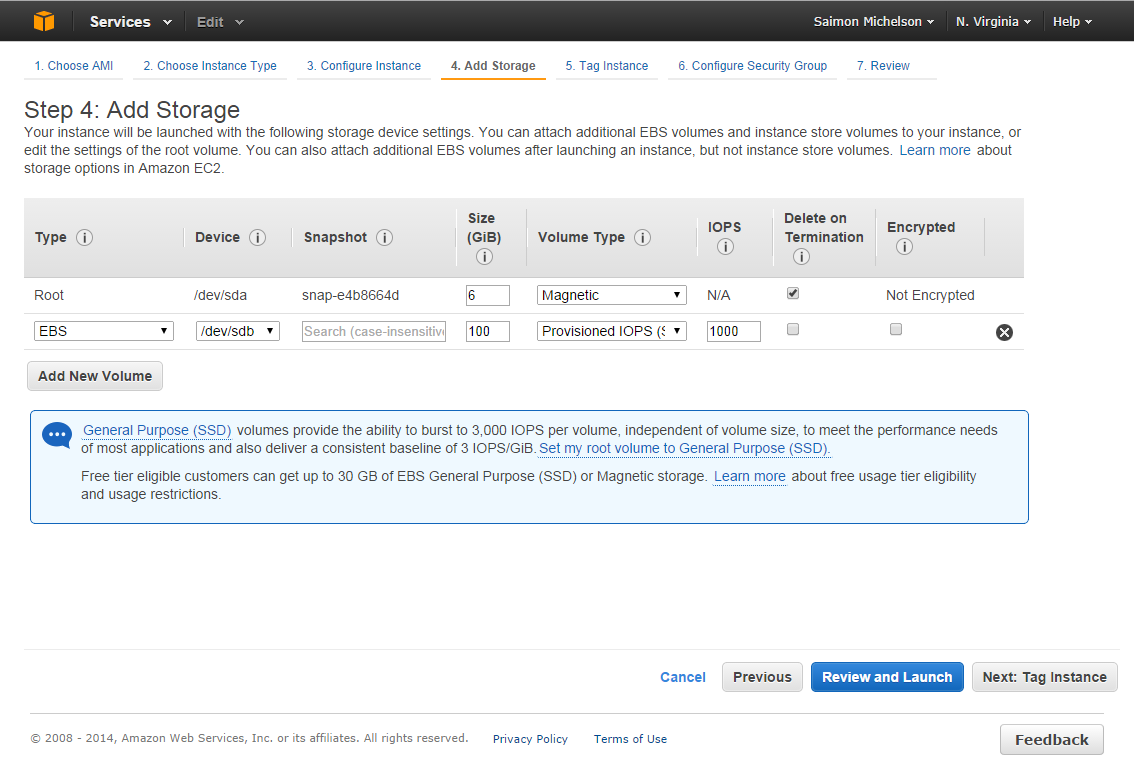
- In the Size field, enter the amount of storage you want to allocate to the instance, in GB. This volume will be used for storing the CTERA database.
- For the 6GB volume, select Magnetic in the Volume Type field.
- For the additional volume:
- If the instance will serve as the main database or a catalog node, select Provisioned IOPS in the Volume Type field and set the IOPS value to 1000.
The IOPS are correlated to the volume size in a ratio of 1 to 10. So, for example, if you added a 100 GB disk, the Maximum IOPS value you can set is 1000.
- If the instance will serve as an application server, set the Size to 50 GB and the Volume Type to Magnetic.
- Click Next: Tag Instance.
The Step 5: Tag Instance page appears.
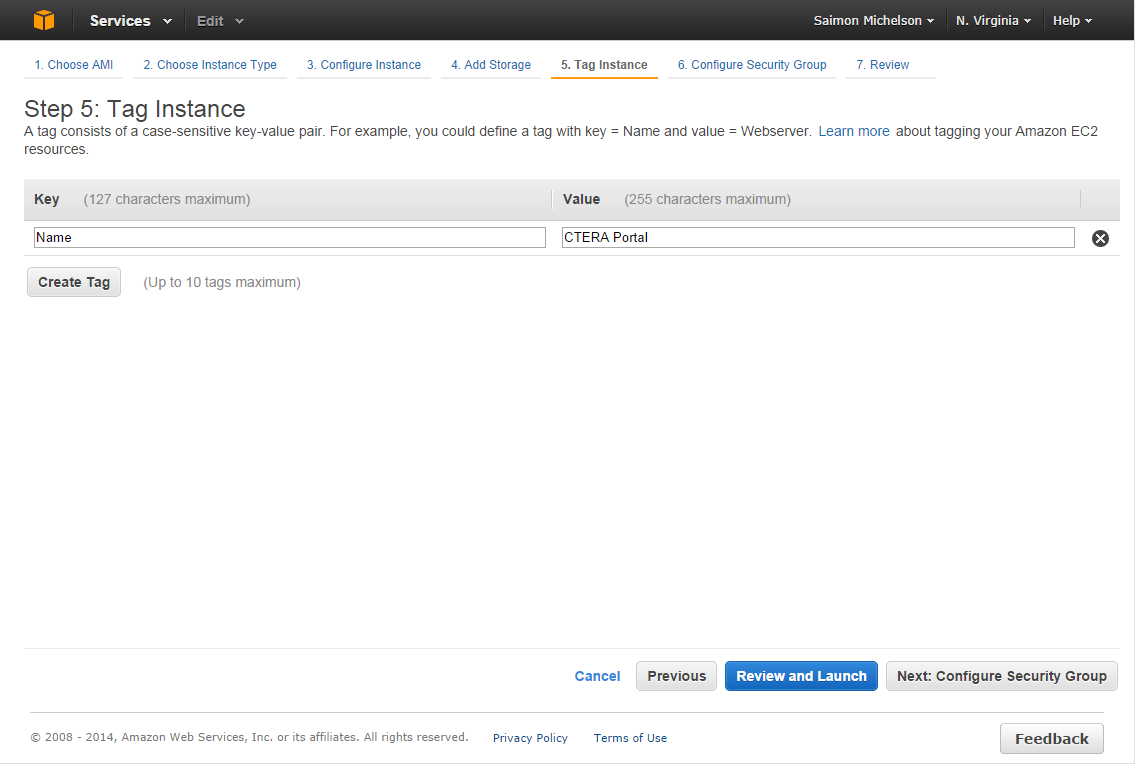
- In the Value field, enter a name for the instance.
- Click Create Tag.
- Click Next: Configure Security Group.
The Step 6: Configure Security Group page appears.
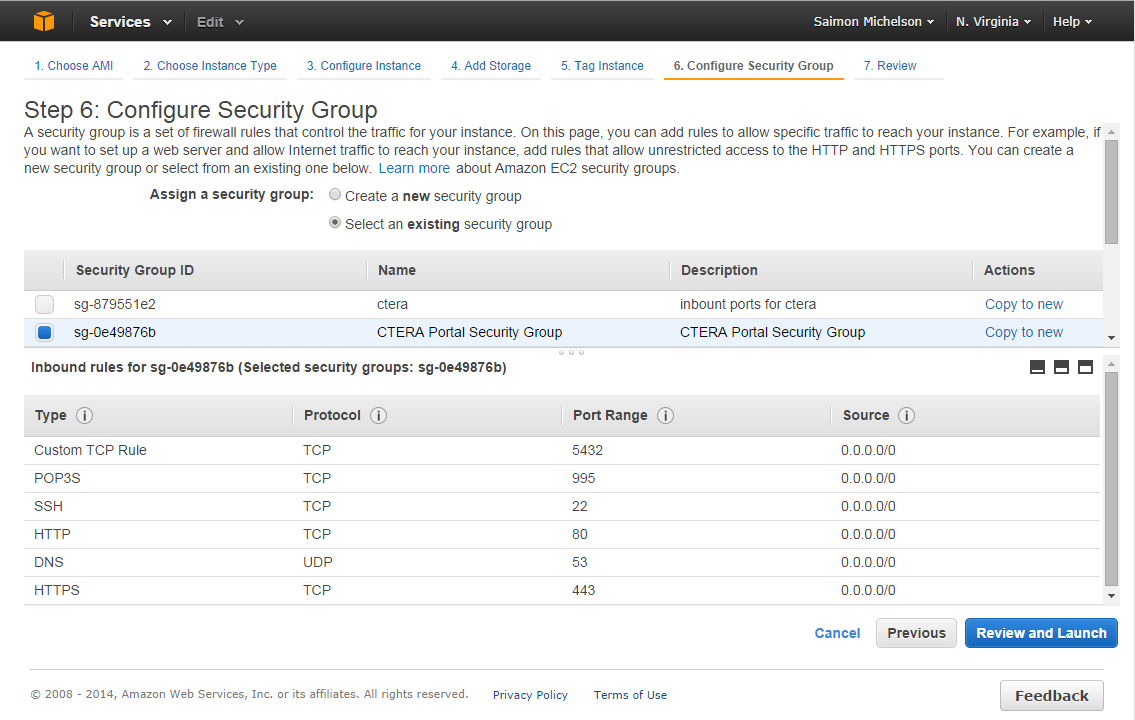
- From the Assign a security group options, select Select an existing security group and select the security group you created (see Create a Security Group).
|
Warning
|

|
The default security group authorizes all IP addresses to access your instance. This is unsafe and should be avoided for production environments.
|
- Click Review and Launch.
The Step 7: Review Instance Launch page appears.
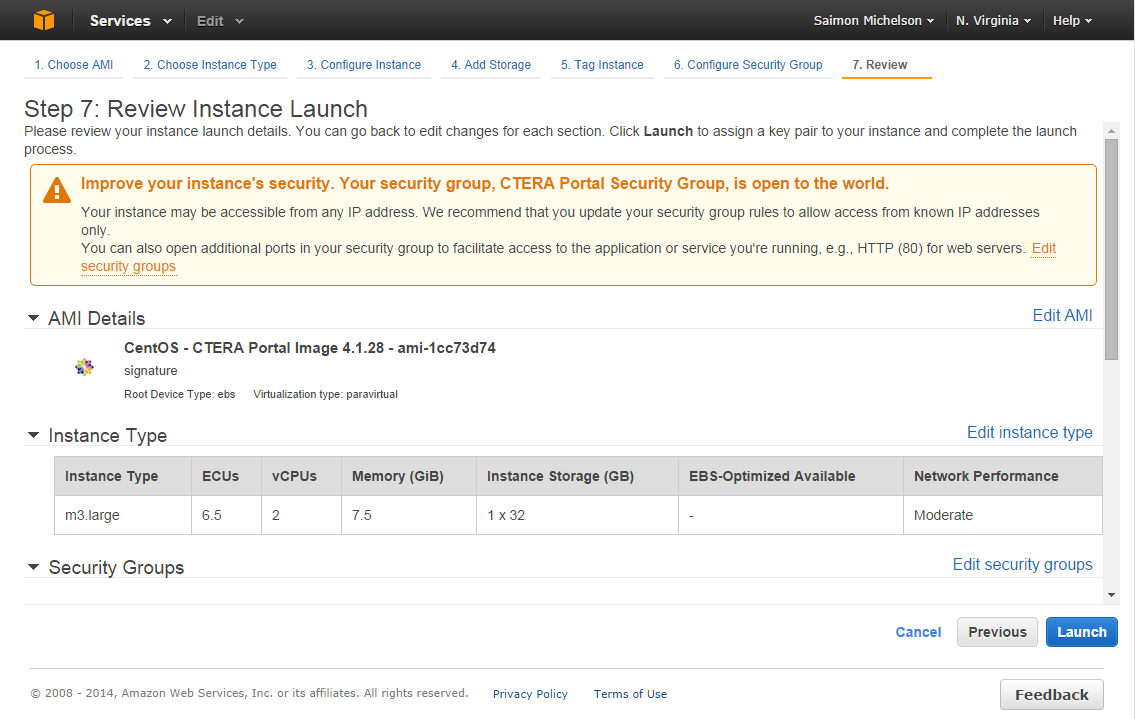
- Review the details of your instance launch. If you need to make any changes, click the links provided to edit each aspect of the instance launch.
- When you are satisfied with the details, click Launch.
The Select an existing key pair or create a new key pair dialog box appears.
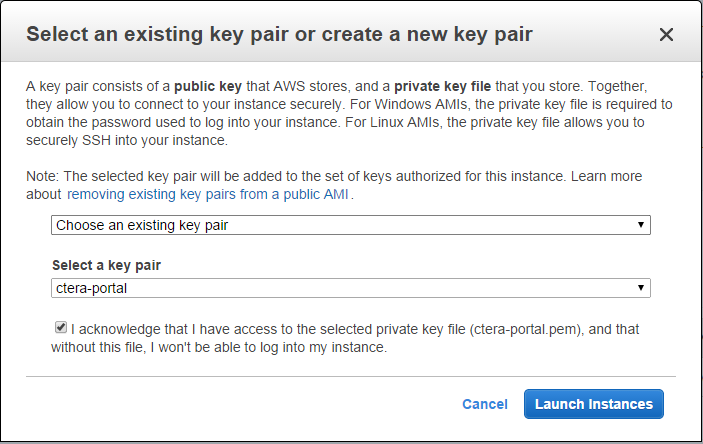
- If you have already created a key pair and you have the private key file that corresponds to the pair in a safe and accessible place, select Choose an existing key pair and select the name of the key pair that you already created.
Alternatively, you can create a new key pair. Select Create a new key pair, enter a name for the key pair, and then click Download Key Pair. Save the private key file in a safe place. You will need to provide the name of your key pair when you launch the instance and the corresponding private key each time you connect to the instance.
|
Warning
|
|
Do not select Proceed without a key pair. If you launch your instance without a key pair, you will not be able to connect to it.
|
- Select the acknowledgement box.
- Click Launch Instances.
The Instances page appears.
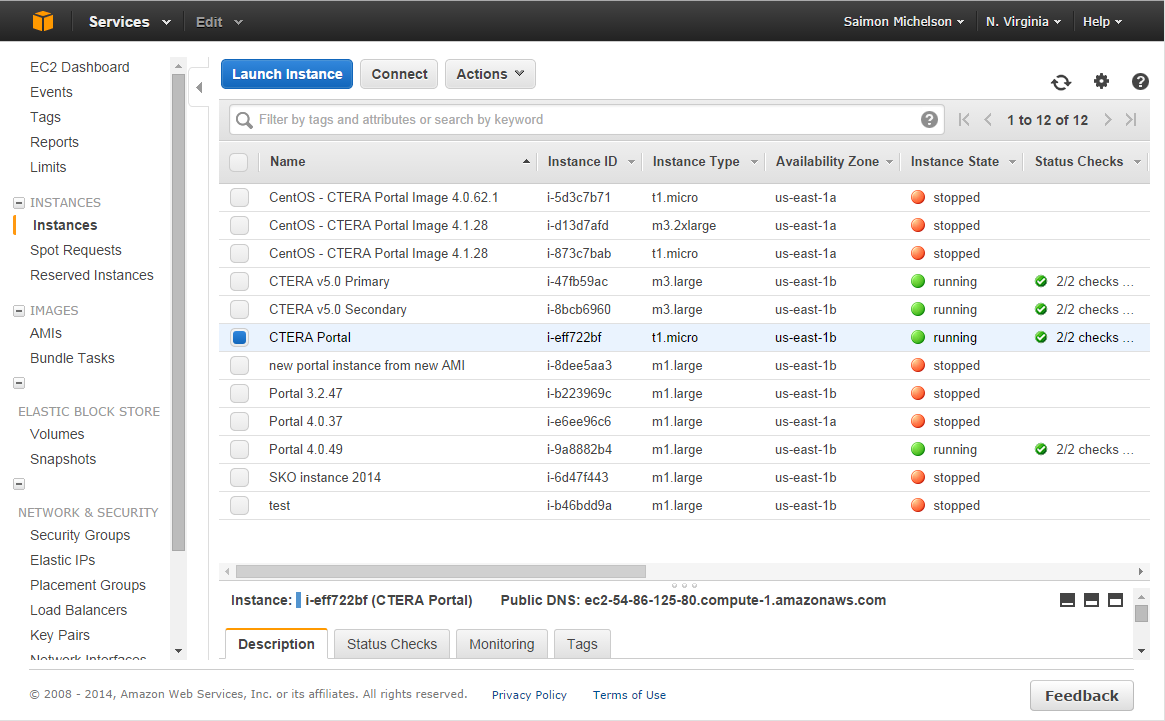
- Select the instance you created.
- Scroll down to the Description tab and click the second device name listed under Block Device.
The Block Device dialog box appears.
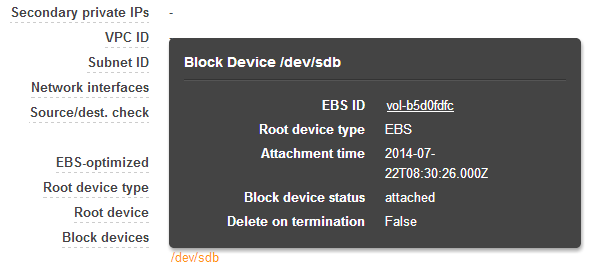
- Record the EBS ID. You will need this in step 29.
- Using the Public DNS displayed on the Instances page (below the Instances list and above the tabs), open an SSH session to the portal and log in as "root". For authentication, use the keypair file.
- Open the portal.cfg file, by running the following command:
vim /etc/ctera/portal.cfg
- Add the Amazon EBS Volume ID that you recorded in step 26 by adding this line to the file:
CTERA_EBS_VOL_ID=EBS ID,
where EBS ID is the EBS volume ID. For example:
CTERA_EBS_VOL_ID=b5d0fdfc
- Add the Amazon EC2 region, by adding this line to the file:
CTERA_EC2_REGION=EC2 region,
where EC2 region is the Amazon EC2 region. The EC2 region is the availability zone that is displayed on the Instances page, without the last character. For example, if the availability zone is us-east-1b, then the region is us-east-1:
CTERA_EC2_REGION=us-east-1
- Add the name of your key pair and the corresponding private key (both obtained earlier (see Obtain Security Credentials from Your AWS Account)), by adding these lines:
AMAZON_ACCESS_KEY=access key ID of your amazon account key pair
AMAZON_SECRET_KEY=secret key ID of your amazon account private key
|
Tip
|

|
You cannot retrieve the secret key ID of a key pair, although you can create a new root access key at any time.
|