Obtain an Elastic IP Address for the CTERA Portal Instance
This procedure is not mandatory for environments set up in an AWS Virtual Private Cloud (VPC).
An elastic IP address is a public IP address that belongs to your AWS account, and you associate it with your instance to make it accessible from the Internet.
To obtain an elastic IP address for the instance:
Log in to your Amazon Web Services account.
In the Amazon Web Services > Compute and Networking area, click EC2.
The EC2 Dashboard screen appears.
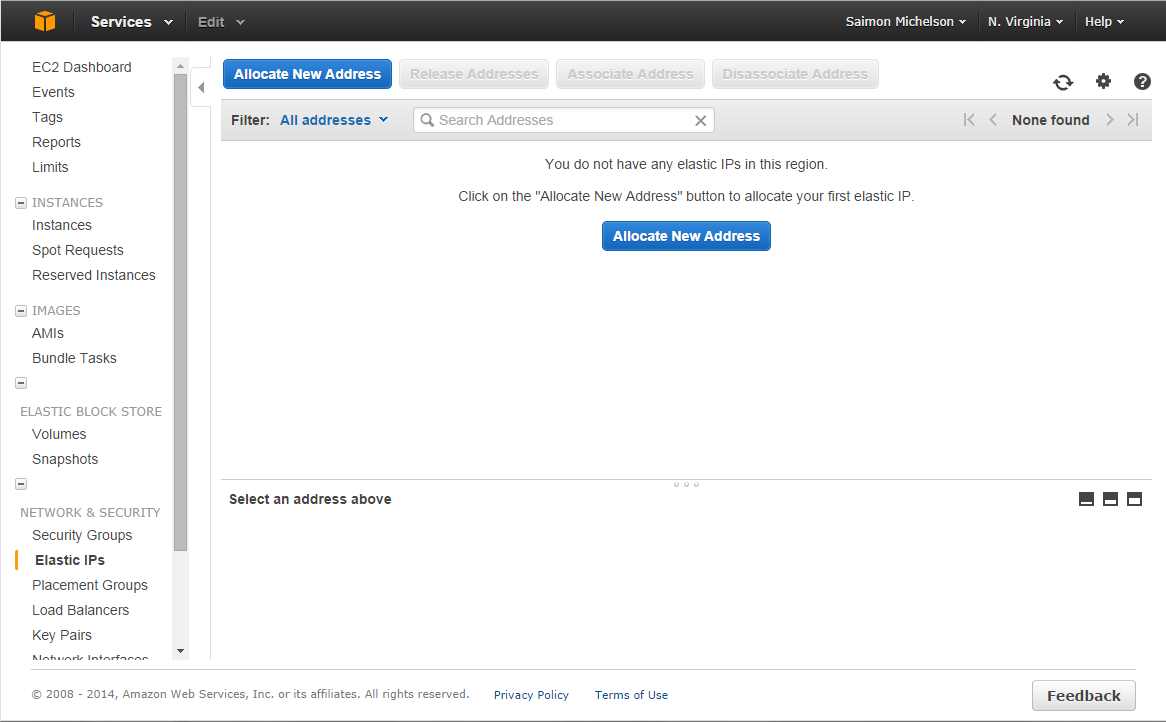
In the navigation pane, click NETWORK & SECURITY > Elastic IPs.
The NETWORK & SECURITY > Elastic IPs screen appears.
Click Allocate New Address.
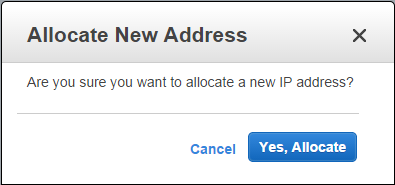
The Allocate New Address dialog box opens.
Click Yes, Allocate.
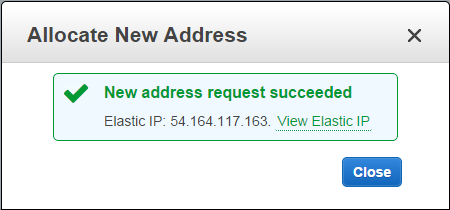
A success message appears.
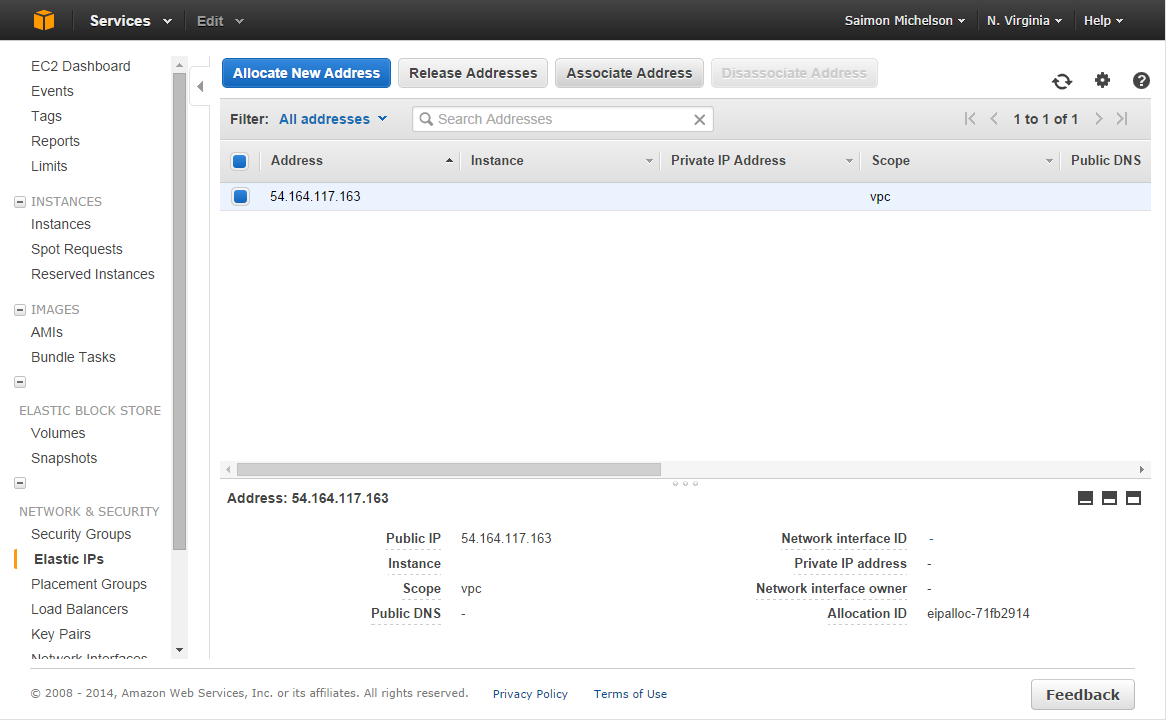
An elastic IP address appears in the NETWORK & SECURITY > Elastic IPs screen.
Click on Associate Address.
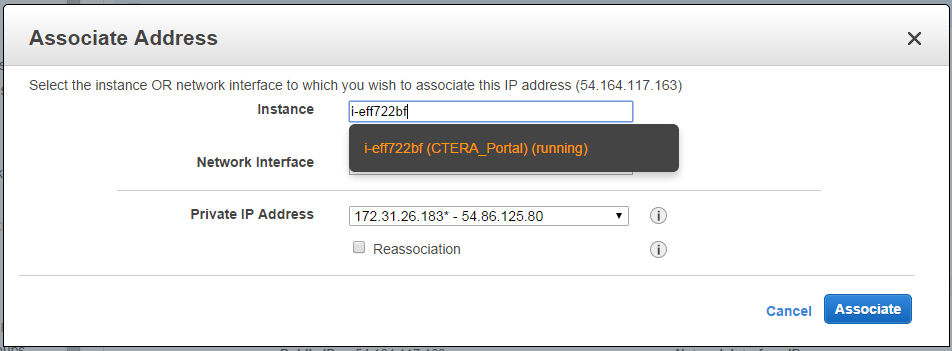
The Associate Address dialog box opens.
In the Instance drop-down list, select your CTERA Portal instance to associate the elastic IP address with the instance.
Click Yes, Associate.
Verify that you assigned the elastic IP address successfully, by doing the following:
Browse to your CTERA Portal instance at:
http://ElasticIPAddress/admin
Where ElasticIPAddress is the elastic IP address you assigned to the CTERA Portal instance.